Monster Cookies

The only thing scary about these monster cookies is how good they are.

Monster cookies are a cookie for someone who can’t decide on one kind. Let’s face it: We all have to make too many decisions in life, so why not make something easy? They have peanut butter, M&Ms (mini, in this case), chocolate chips, oats, and lots of sugar. They hearken back to childhood sugar overload, when one cookie was never enough. Actually, I think the same is still true today.

Monster cookies take me way back to childhood. Even though I don’t have a specific memory of eating these or watching my mom make them, I know they happened, the same way I’m confident I ate ice cream every day during the summer, raced around the neighborhood on my bike, or listened to Top 100 on the radio on Saturday mornings. Like these memories, they’ve stayed with me. Today, I decided to make them happen again.

I have my coworker to thank because she requested these after I opened my weekly baking for the office up to requests. When she said monster cookies, it was like a lightbulb went off. “Yes,” I thought. I’d actually wanted to make these for years after seeing other food bloggers post photos of them on Instagram, but for some reason, I never did. I guess everything happens in its own time.

My favorite part about these cookies is how they melt in your mouth. The M&Ms and chocolate chips are a little melted from baking in the oven, and the oats make the cookies very soft. Don’t over bake them because they will firm up on the baking sheets as you let them cool.

I was trying to think of what song to leave you with, and I realized it had to be a 90s song. A fun fact about me as a child in the 90s is that I talked my way into getting a Spice Girls album when I was eight, even though the woman at the store told my parents it was “explicit.” I also had every piece of Spice Girls merchandise ever invented including a sketchpad and pencils.

Monster Cookies

Ingredients

1/2 cup of unsalted butter, softened
100 grams granulated sugar
85 grams dark brown sugar
130 grams creamy peanut butter
1 egg
1 tsp vanilla extract
120 g all-purpose flour
105 g old fashioned rolled oats
pinch of salt
1/2 tsp baking powder
1/2 tsp baking soda
90 g semi-sweet chocolate chips
105 g mini M&Ms

Directions

Preheat the oven to 350 degrees F. Line two baking sheets with parchment paper. Whisk together the flour, oats, baking soda, baking powder, and pinch of salt in a medium bowl. Set aside for later.

Beat the butter and sugars in the bowl of a stand mixer on medium speed until light and creamy, about 2-3 minutes. Add the peanut butter and mix until smooth. Scrape down the sides and bottom of the bowl with a spatula and beat in the egg and vanilla until combined.

Add the flour mixture to the wet ingredients and mix on low until combined. Add the chocolate chips and mini M&Ms and mix until combined.

Use a cookie scoop to scoop the dough into equal sized portions on a baking sheet, spaced a couple inches apart. Bake the cookies for 10-12 minutes until they’re just set and cracking on top. Allow the cookies to cool completely on the sheets. Enjoy!

Posted in Cookies, Dessert | Tagged , , , , , , , , , , , , , , , , , , , | Leave a comment

Thumbprint Cookies

Thumbprint cookies are a sleeper favorite. I say that mostly due to my own preferences, which I’m extending to everyone else who eats cookies (and if you don’t…I don’t think we can be associated). When I reach for a cookie, I want it to have lots and lots of sugar, probably chocolate, and definitely some softness. If it doesn’t have those three things, I probably won’t be satisfied, although truth be told, I’d eat any cookie handed to me.

These cookies only check one of the three boxes, in that they’re soft. The dough actually doesn’t have that much sugar (only 1/2 a cup), and zero chocolate is involved. However, despite missing two of my three gold standards for cookies, they’re incredible. They’re light, fun, vibrant, and delicious. Now that I’m writing about it, they’re basically like having a best friend in cookie form.

There are a few tricks to making these cookies really, really good. One is almond extract. Most at-home bakers have vanilla extract in their pantry, but splurge on some good quality almond extract for these cookies. They add another layer of flavor, especially in dough that is essentially just butter and sugar.

Second, don’t forget lemon zest and orange zest. In a pinch, you can just use one or the other (all lemon or all orange), but try not to omit this. It adds some zest to the cookies and keeps them from tasting too generic.

Finally, *definitely* splurge on some high-quality jam for these. The grocery store brand variety will not cut it. The jam is really the star of the show here, and you can see by its location front and center in the cookies. If you get a subpar kind, the cookies will still be good, but they probably won’t be great. Feel free to choose whichever kind of jam speaks to you. My favorite is raspberry, but I’ve used strawberry and blood orange before, and both are delicious.

I made a batch of these today especially for my coworker’s three-year-old son, who asked her if I made some last week after he tried some in March when I brought them in. I can’t wait to set aside a few just for him. I’m all about giving back to my fans.

In the meantime, I’ll leave you with this song. It’s good to listen to on long walks around your city during springtime or play on repeat in your kitchen when you’re baking cookies.

Thumbprint Cookies

Ingredients

220 g all-purpose flour
85 g almond flour
1/4 tsp salt
225 g unsalted butter, softened
100 g sugar, plus 2 tsp
3 large egg yolks
1 tsp lemon zest
1 tsp orange zest
1 tsp vanilla extract
1/4 tsp almond extract
1 egg white, whisked
75 g high-quality store-bought jam

Directions

Preheat the oven to 350 degrees F. Line two baking sheets with parchment paper.

Whisk the flours and salt together in a medium bowl. In the bowl of a stand mixer fitted with the paddle attachment, cream the butter and 1/2 cup of sugar on medium speed until light and fluffy. Add the egg yolks all at once and mix until combined, scraping the sides and bottom of the bowl as needed. Add the zests and extracts and mix everything together until combined. Add the flour mixture and mix until just combined on low speed. Use a spatula to scrape the sides and bottom again to make sure the dough is uniform.

Use a small cookie scoop to scoop the dough out. Roll into balls and place on the prepared baking sheets, leaving about two inches of space between each dough ball. Use your thumb or the end of a wooden spoon to make an indent in each cookie. Brush with the whisked egg white and sprinkle with the reserved 2 tsp sugar. Fill each hole with 1/2 tsp jam, being careful not to overfill them.

Chill the unbaked cookies for 30 minutes in the fridge. When it’s time to bake, bake one sheet at a time for about 12 minutes, or until the cookies are barely golden brown. Remove from the oven and let the cookies cool completely on the sheets. Store the cookies in an airtight container. Enjoy!

Posted in Cookies, Dessert | Tagged , , , , , , , , , , , , , , , | Leave a comment

The Best Chocolate Chip Cookies Ever…I Promise

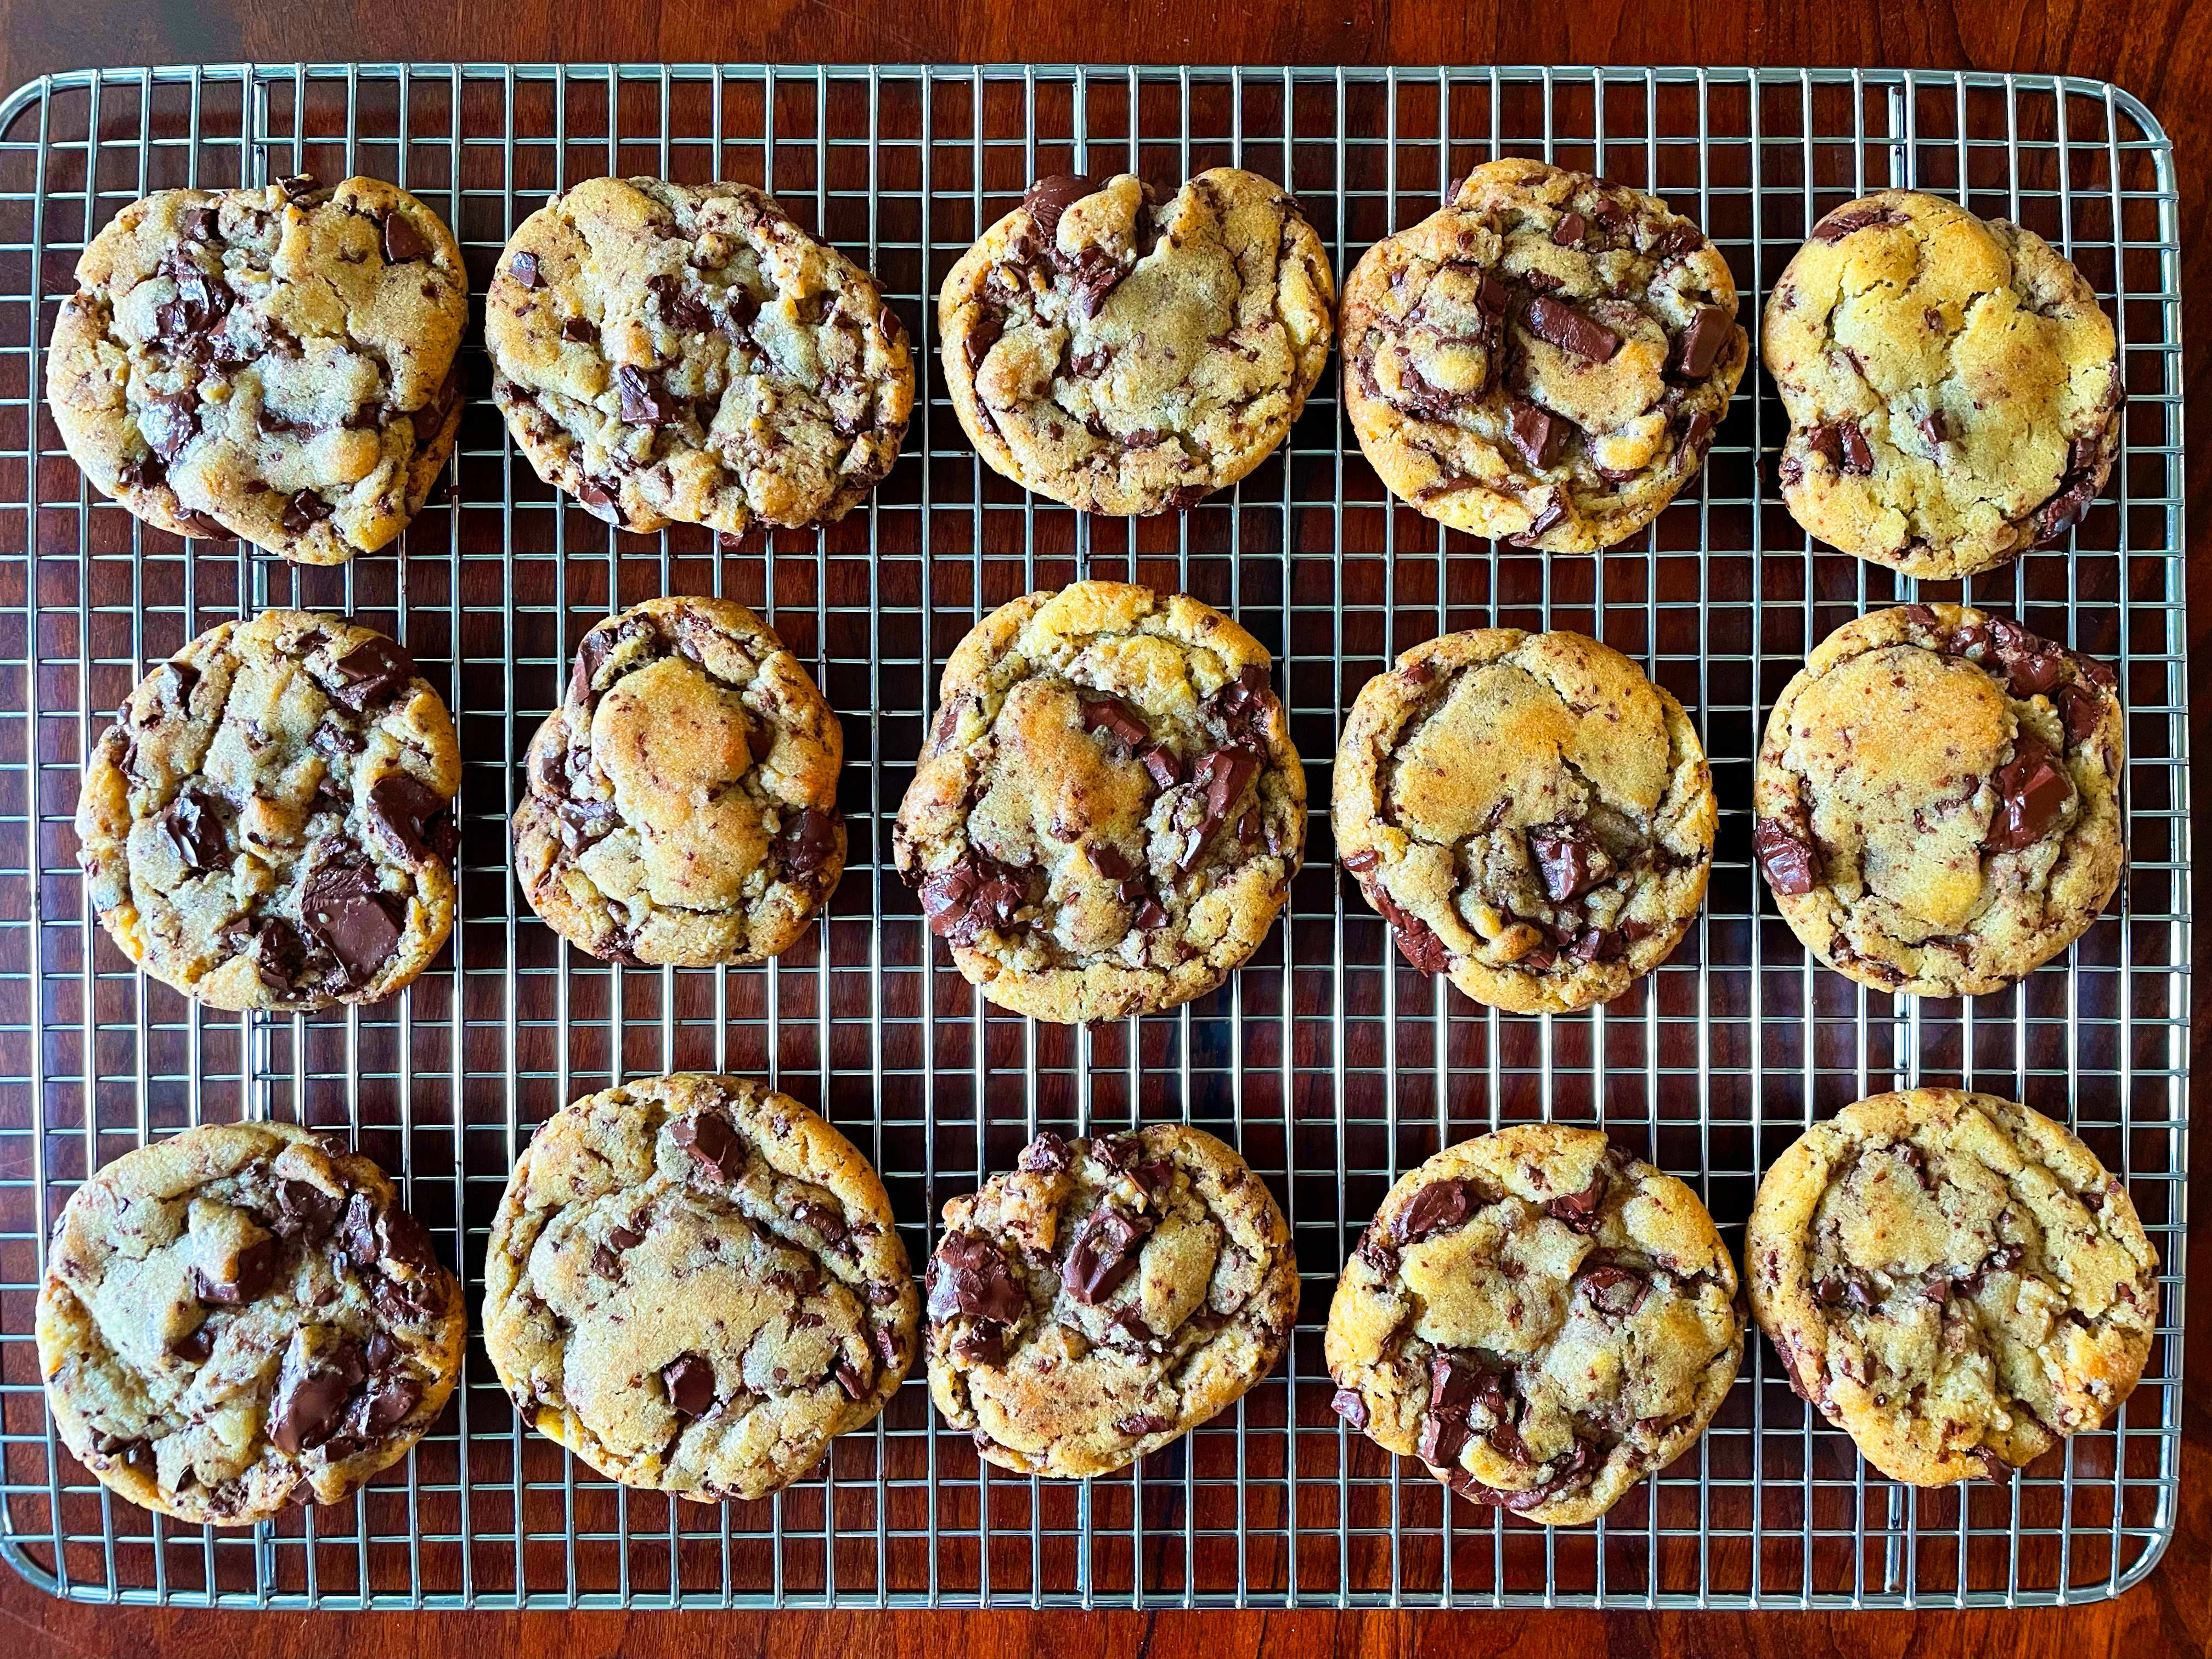
If you’ve ever visited my blog before, you know I have a *slight* obsession with chocolate chip cookies. My archived recipes are extensive; the passion is real. A few years ago, I even rounded up a definitive list of best chocolate chip cookie recipes, just to set the record straight.

Well, I spoke too soon because this year, I developed the best chocolate chip cookie recipe in the history of all recipes. “You are exaggerating,” you might be saying, but trust me- I’m not. I’ve now made this recipe three times in the past three months, and every time, it delivers incredible results.

Before I start sounding like a car salesman for chocolate chip cookies, I’ll tell you why this recipe is different. First, it calls for a healthy amount of vanilla extract. Vanilla extract is the secret superpower of chocolate chip cookies. It doesn’t ask a lot, but it gives so much. It is basically responsible for a chocolate chip cookie’s flavor (along with the chips). You might scoff at the idea of adding half a tablespoon of vanilla extract to your dough, but it is worth it. It creates a cookie with a more layered flavor, so you’re not just experiencing the taste of sugar and chocolate.

Second, this recipe calls for a healthy chill time in the fridge. The jury is out on whether or not to chill your chocolate chip cookie dough. Time and patience would dictate you shouldn’t, but my experience as a baker dictates you should. The batch of cookies I made today turned out excellent after I chilled the dough for about 24 hours.

However, the time they turned out the best was actually right after I got sick in February. I was planning to chill the dough overnight and bake the cookies in the morning, but I felt like I was getting sick, so I rolled the dough into balls and froze them in plastic bags to make when I got better. When I was finally better, I defrosted the balls on a parchment paper-lined baking sheet for 30 minutes, baked them for the same amount of time, and they were incredible. I tested my hypothesis at work when I brought a second batch in a week later, and everyone agreed the earlier one from two-week frozen dough was better.

Finally, as is true with so many things in baking, quality chocolate makes a difference. I like to use semi-sweet Guittard, which you can get at Whole Foods or other specialty grocery stores. I’ve had a lot of people tell me they can taste the difference, and it makes me feel better about spending that much money on chocolate. In cookies, as in life, sometimes you have to pay a little more to get the good stuff.

Here are a couple songs to get you started on your chocolate chip cookie journey. Usually I leave you with just one, but this week, I couldn’t choose. The first one describes how I feel when these cookies come out of the oven, and the second came on last night when I was making the dough. It makes me feel like I’m on a cooking show.

The Best Chocolate Chip Cookies Ever…I Promise

Ingredients

168 g unsalted butter
200 g brown sugar
50 g cup granulated sugar
1 egg plus 1 egg yolk, room temperature
1/2 Tbsp pure vanilla extract
220 g all-purpose flour
3/4 tsp baking soda
heaping 1/4 tsp kosher salt
225 g semi-sweet chocolate, chopped

Directions

Melt the butter in a small saucepan over medium heat, swirling it and cooking it until it turns brown. Immediately remove the saucepan from the stove and pour the butter into another bowl to cool.

Whisk the flour, baking soda, and salt together in a large bowl. Set aside. In the bowl of a stand mixer, mix the cooled butter, brown sugar, and granulated sugar together on medium speed until well combined. Add the egg, egg yolk, and vanilla extract, and mix until well combined, scraping down the sides of the bowl and bottom as needed to make sure everything is well incorporated.

Add half the flour mixture to the bowl with the wet ingredients and mix until combined. Then, add the rest of the flour mixture little by little until it’s all combined. Don’t overmix. Use a spatula to incorporate the chopped semi-sweet chocolate.

Chill the dough for at least 24 hours in the fridge. If you want, you can roll the dough into balls, freeze them on a baking sheet, then store them in the freezer in airtight plastic bags until you’re ready to bake them. If you go the latter route, let the balls of dough defrost on the counter for 30 minutes before you bake them.

When you’re ready to bake, preheat your oven to 350 degrees F. Line two baking sheets with parchment paper. Use a 1.5 to 2 Tbsp scoop to portion out the dough into balls, setting them about 2 inches apart on the baking sheets.

Bake one sheet at a time in the oven for 11 minutes until the cookies are puffy but still soft in the middle. Remove them from the oven and let them cool on the sheet for about 5-6 minutes before placing them on wire racks to cool the rest of the way. Store in an airtight container at room temperature. Enjoy!

Posted in Cookies, Dessert | Tagged , , , , , , , , , , , , , , | Leave a comment

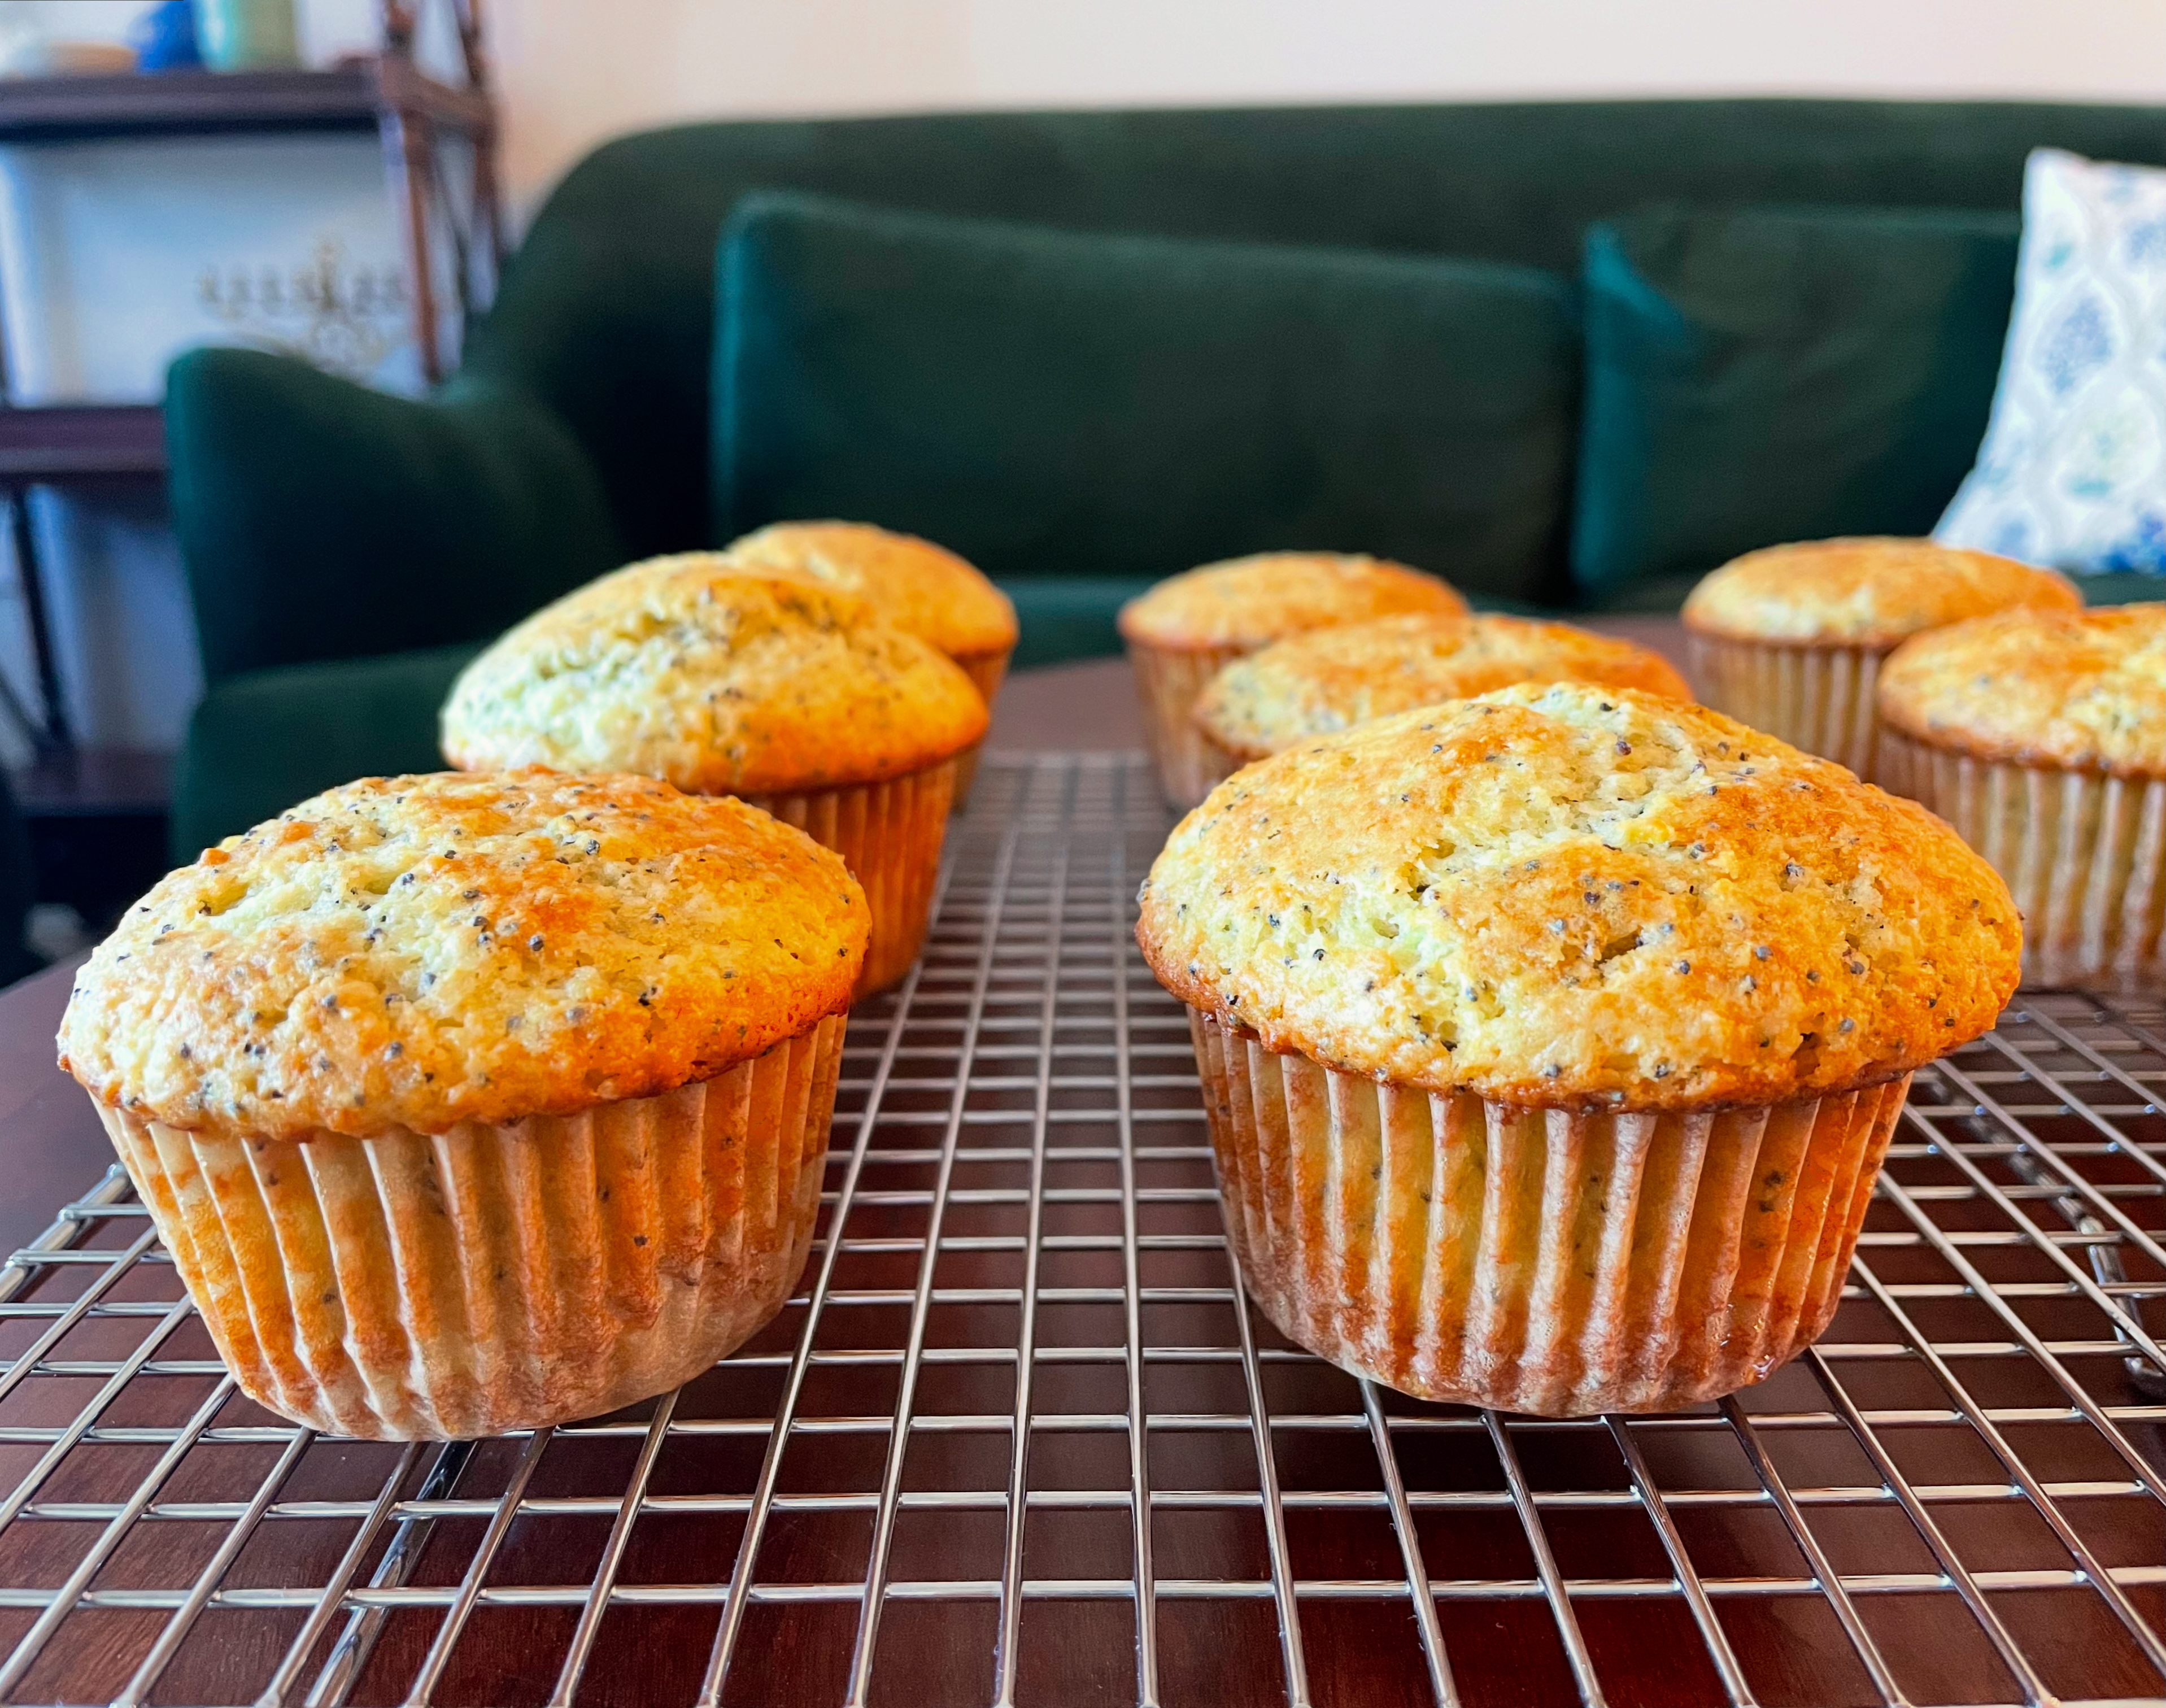
Lemon Poppyseed Muffins

February was one of the hardest months I’ve experienced in a while. It was bitterly cold in St. Louis, I got the flu, and didn’t leave my apartment for eight days straight. At one point when I could barely breathe because I was so congested, it started snowing and I wanted hot chocolate, so I made myself a cup and chugged it out of deprivation. Note to self: Never do that again.

ANYWAY. Now I’ve thankfully turned a corner and things are mostly right side up again. I can’t speak to the state of the world, but I can speak to the state of my very small piece of it. Luckily, things are better and I’m back to my usual routine, which involves drinking too much coffee for my own good, going on long walks around St. Louis, and baking on Sunday mornings with the music turned up.

Which brings me to these lemon poppyseed muffins. As I’ve written extensively on this blog, I love poppyseeds. I don’t know why, other than they’re nature’s sprinkles. They make everything look cute, and they’re fun to throw into the flour mix. They basically deserve an Oscar for best supporting actor/actress.

I sent a photo of these muffins to my friend after we got brunch this morning, and he said, wow, you made those fast. Honestly, I could probably make muffins with my eyes closed, but in general this is also a super simple recipe. You whisk together some dry ingredients, whisk together milk with egg, melted butter, lemon juice, and lemon zest, and then use a rubber spatula to gently combine the two. I like to use an ice cream scoop to portion out the batter between the paper liners in the muffin tin.

About halfway through baking these muffins, the power went out in my apartment. I’m still not sure why, but I’m going to blame it on us losing an hour today with the time switch. I had a brief panic attack because there’s nothing worse than putting something in the oven and realizing you can’t finish it. I guess the time I set my oven on fire from melted butter from an apple tart was worse.

In any case, luckily this morning’s power outage was only a momentary hiccup. These muffins came out springy, light, and fluffy. They’re like little rays of sunshine, which we desperately need after weeks of snow and gloom.

Here’s a song to get you started on your lemon poppyseed muffin journey. I have *very* complicated feelings about Taylor Swift, which I’m sure is alienating a ton of people as I type this. Most of her songs make me feel embarrassed, like when your mom shouts at you out the window after dropping you off your freshman year of high school. But some really speak to me, and this is one of them.

Lemon Poppyseed Muffins

Ingredients

254 grams all-purpose flour
150 grams granulated sugar
2 Tbsp poppyseeds
1 Tbsp baking powder
1/2 tsp baking soda
1/4 tsp fine salt
237 grams whole milk, at room temperature
113 grams unsalted butter, melted and cooled
1 large egg, at room temperature
2 Tbsp fresh lemon juice
1 Tbsp fresh lemon zest

Directions

Preheat the oven to 400 degrees F. Line a 12-cup muffin tin with paper liners and set aside.

Whisk together the flour, sugar, poppyseeds, baking powder, baking soda, and salt in a large bowl. In the bowl of a stand mixer, whisk together the cooled melted butter, milk, egg, lemon juice, and lemon zest. Use a rubber spatula to mix the dry ingredients into the wet ingredients until you can’t see any traces of flour. Don’t overmix.

Use an ice cream scoop or large spoon to portion the batter between the paper liners. Bake for about 15 minutes, or until the muffin tops spring back to the touch. Cool completely. Enjoy!

Posted in Breakfast, Muffins | Tagged , , , , , , , , , , , , , | Leave a comment

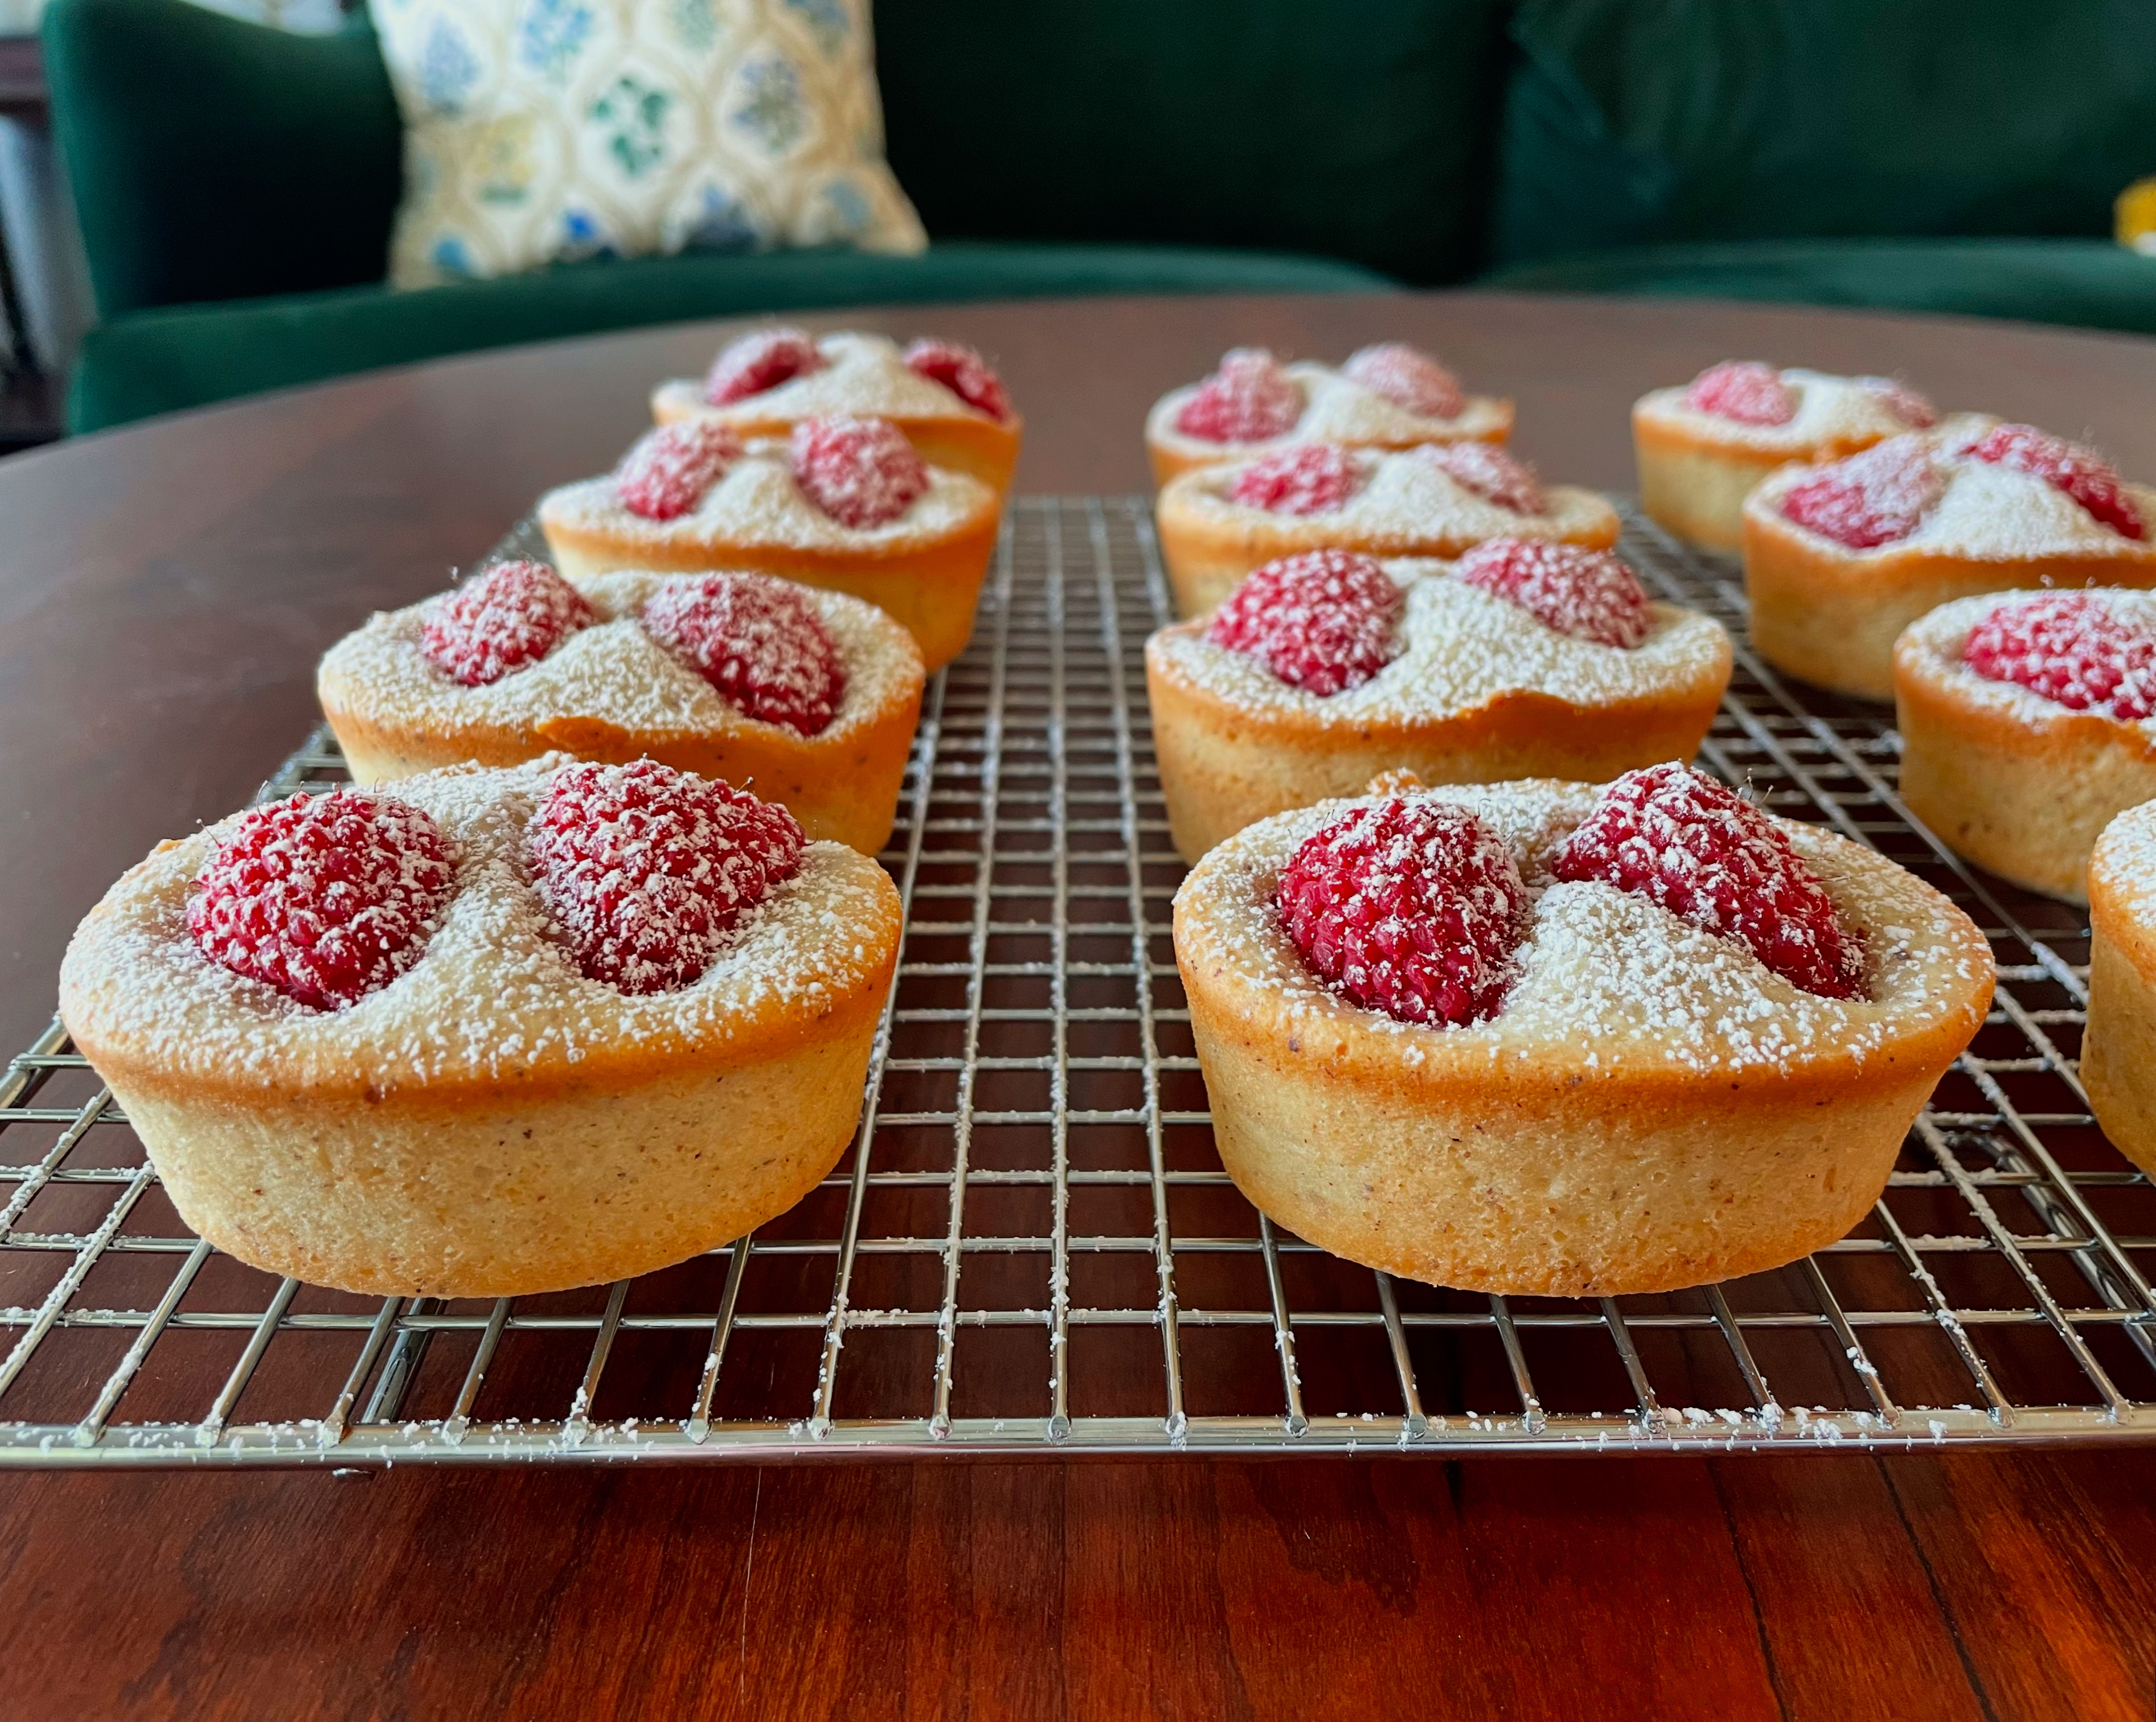
Hazelnut Raspberry Friands

Friands are one of my favorite French pastries to bake. Why? you ask. They’re incredibly easy. All you do is combine some regular flour, nut flour, egg whites, and sugar in a food processor, spin it until the batter is combined, and then spoon it into a prepared friand pan (or a muffin tin, if you don’t have a friand pan…which honestly, I’m guessing most people don’t).

My two favorite parts of making these friands are the egg white part, and the raspberry part. The egg white part might throw some people for a loop. Why would you enjoy separating egg whites when that’s objectively one of the worst parts of baking, you might be asking. Well, for me it’s cathartic. I even alternate the way I do it: Sometimes I use the shell (here’s a good tutorial), or other times, I use my hands. The second way is a little dicier because you’re relying on your hands to be a sieve for the egg whites, but in my opinion more fun.

My second favorite part of making these is the raspberry part. If you have huge raspberries, which you probably do if you’re living in the Midwest in the middle of the winter and that’s all that’s at the grocery store, you can probably drop two of these on top of each friand before they bake in the oven. Otherwise, go for three, because the more raspberries, the merrier.

A couple words to the wise when making these friands: One, grease the pan within an inch of its life. You want the softened butter to form a thin layer so the cakes don’t stick to the mold. You can use a pastry brush or your fingers, which I did when I got impatient with the brush. At this point in the blog post, it sounds like I don’t use any baking tools and only use my hands, which kind of makes me look like a baking OG, or just someone who scorns modern day conveniences.

My second tip is the “spring” test. A lot of people think baking is all about using your sense of smell and taste, which it is, but it’s also just as much about touch. You’ll know the friands are done when you crack open the oven and press lightly on the top of one and it springs back. Resist the temptation to take them out before this happens.

I can’t wait to bring these into work tomorrow and enjoy one with a cup of my morning coffee. Here’s a song to get you started on your friand journey, should you choose to embark on it. It also happened to be playing when I was making these this morning.

Hazelnut Raspberry Friands

Ingredients
115 g unsalted butter, melted, plus more for greasing the pan
90 g all-purpose flour
3/4 tsp baking powder
90 g superfine almond flour
40 g superfine hazelnut flour
190 g confectioners’ sugar
5 egg whites, lightly whisked
2 tsp vanilla extract
fresh raspberries
confectioners’ sugar for dusting

Directions

Preheat the oven to 320 degrees F. Grease a friand pan or muffin tin with butter and set aside.

Combine all the ingredients except the raspberries in a food processor and spin until well combined, about a minute or two. Spoon the mixture into the molds, filling them about 3/4 way full, then top with up to three raspberries (depending on how big they are- I could only fit two in each mold).

Bake the friands for 15 to 20 minutes until the tops spring back to the touch. Allow them to cool in the molds for about 15 minutes, then carefully remove them to cool the rest of the way on a wire rack. Top with a generous dusting of powdered sugar. Enjoy!

Posted in Dessert | Tagged , , , , , , , , , , , , , , | Leave a comment

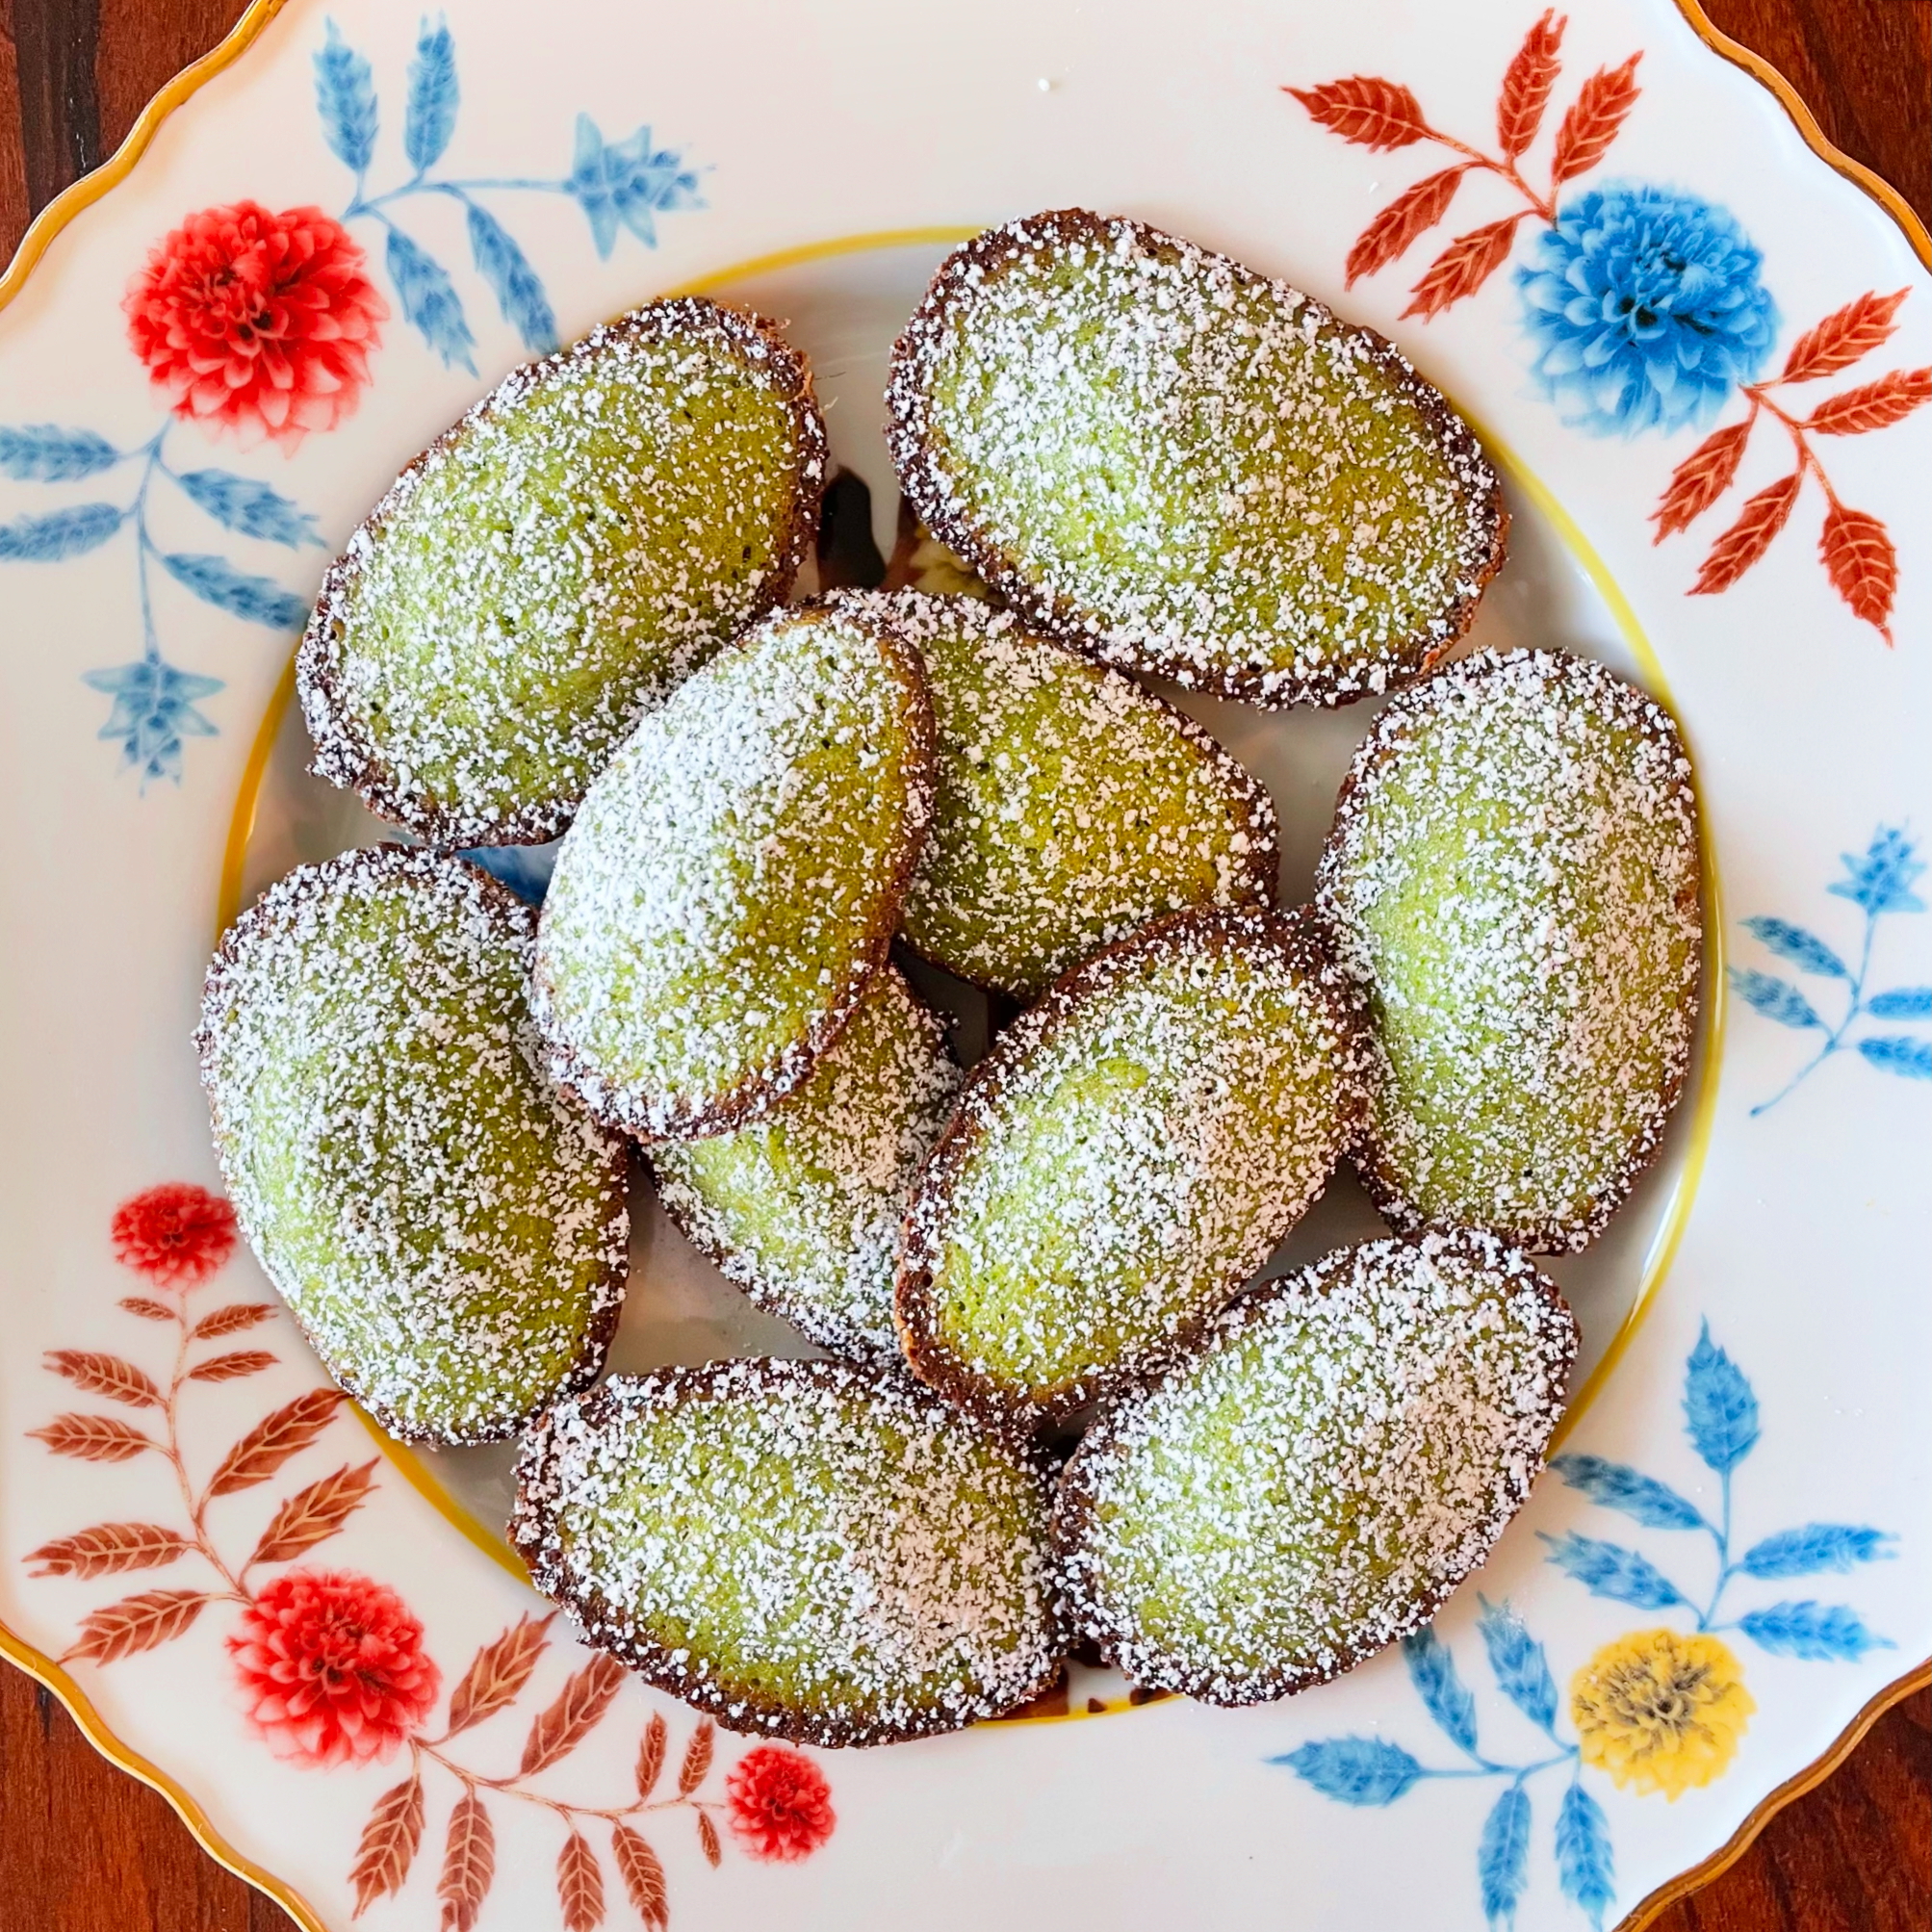
Matcha Madeleines

I think we’re a year (years?) past the trend of putting matcha into everything imaginable, but still, I had strong desire to make matcha madeleines this weekend. I hate trends, so maybe that’s part of it. I also hadn’t made madeleines for a while, and they’re a fun project, especially when the temperatures drop below zero and you’re stuck inside.

Also, I knew these would brighten my day. As I mentioned before, I hate winter with a fiery, burning passion. To make matters worse, there was a blizzard and ice storm in St. Louis, and the city decided not to clear any of the ice off the roads or sidewalks. I can’t count on two hands the number of times I have almost died trying to get to and from work, or even going on a short walk in my neighborhood. There are people literally ice skating down major thoroughfares and skiing to and from the grocery store. Is this normal? No. Do lawmakers care? Not at all.

Instead of going live on social media and describing why every city lawmaker should be impeached for gross negligence, I decided to make these madeleines. It was probably a good choice, given the fact that the city isn’t listening to anyone.

Madeleines are also a good project to let off some steam because they require you to be very present. You can’t just turn the mixer on high and beat butter and sugar. You have to go step by step and delicately incorporate ingredients. If you don’t, the batter will not be the right consistency, and chances are the madeleines won’t bake correctly in the oven. Ideally, you want them to have the little hump in the middle. This means they’ve baked up correctly.

A couple of tricks to making good madeleines:

  • Prep the molds: I think one of the easiest mistakes to make with madeleines is not preparing the molds correctly. Make sure you brush the molds with softened butter (not melted) and dust them with a little flour before you fill them with batter.
  • Do not overwork with the batter: This is probably the most overlooked step. Once you combine the sugar and egg and add the dry ingredients, use a spatula to mix in the melted butter and milk. You want the batter to have a soft, ribbon consistency. You want it to be pourable, not super thick.
  • Stay with your madeleines: Oddly enough (or perhaps not so strangely), this step makes me think about Ludo Lefebvre, a French chef who said to always stay with your bird (chicken) when you’re roasting it in the oven. Similarly, stay with your madeleines when you’re baking them. They don’t need a lot of time in the oven. Watch them carefully. The second they get golden around the edges and puff up, take them out of the oven. You can remove the madeleines from the mold carefully with a spoon, or you can do what I do, which is much more fun: Invert the mold so the madeleines are facing the counter and bang one edge against the counter. They’ll all fall out at once (you might have one straggler).

I enjoyed these with a pot of maple walnut sencha tea this afternoon and they hit the spot. They almost made me forget my disillusionment…but not quite.

Here’s a song to get you started on your madeleine journey. It’s one of my favorite French ballads. It also reflects my feelings about the present moment.

Matcha Madeleines

Ingredients
45 grams all-purpose flour
1 tsp matcha green tea powder
1/2 tsp baking powder
pinch of Kosher salt
1/4 cup sugar
1 large egg, at room temperature
1/2 tsp pure vanilla extract
43 g unsalted butter, melted
unsalted butter, softened, for brushing the pans
43 g white chocolate, melted and still liquid
1 Tbsp milk, at room temperature
powdered sugar for dusting

Directions

Prepare the madeleine pans by brushing them with softened butter, spreading it very thin, and dusting the pans with flour. Set aside.

Whisk together the flour, green tea, baking powder, and salt. In the bowl of a stand mixer, whisk the sugar, egg, and vanilla extract on medium high for a couple minutes. Reduce the mixer speed to low and add the dry ingredients, using a spatula to scrape the bottom and sides of the bowl if needed. Use the same spatula to incorporate the melted butter by hand. Then incorporate the melted white chocolate until combined. Add the milk and use the spatula to mix into the batter until combined, being careful not to overmix.

Put a teaspoon or two of batter into each madeleine shell, filling to almost full. Place the molds in the refrigerator for at least an hour.

Preheat the oven to 425 degrees F. Bake the madeleines for about eight minutes, or until the edges are golden brown and the middles are puffed up. Remove them from the oven and tap an edge of the pan onto the counter so they fall out of the molds. Dust them with powdered sugar. Eat immediately. Leftovers will keep for about a day, but these taste better fresh out of the pan. Enjoy!

Posted in Cookies, Dessert | Tagged , , , , , , , , , , , , , , | Leave a comment

Morning Glory Muffins

The weather forecasters predicted up to 79 inches of snow in St. Louis this weekend, so Friday, I did what any normal person would do: I went to the grocery store five times, and I got the ingredients to make these morning glory muffins.

A fun fact about me is I love snow, but I hate winter. I guess I’m a fan of snow from an aesthetic standpoint. I love feeling like I’m inside a snow globe. Stepping out into it is another story. I’m secretly counting down the days until I can move to Southern California and leave all this behind.

Until then, I’m making lots of morning glory muffins. These muffins are the equivalent of a hug in muffin form. They are warming, comforting, and everything a good muffin should be if you’re stuck in your apartment for 24+ hours and don’t have any plans of going out.

They also stake a claim at being “healthy,” although with the generous amount of turbinado sugar I sprinkled on top, I don’t think they’re in that category anymore. They do have lots of healthy things in them though like chopped walnuts, grated carrots, grated apple, flaxseeds, and sunflower seeds. Honestly, they’re a little like carrot cake without tons of sugar and cream cheese frosting. Who would want that? you might be asking. You do- trust me.

These muffins avoid tasting too healthy because of two star ingredients: Brown sugar and cinnamon. If brown sugar and cinnamon were a composite character, it would be a sweet grandmother who wraps you up in a blanket and tells you everything will be okay. The brown sugar in these muffins balances all the earthy ingredients and provides some much needed sweetness. The cinnamon adds depth and gives these muffins a fragrant, comforting smell, kind of lighting one of those bakery-scented candles. Except in this case, luckily, you can eat what you’re smelling.

As I mentioned earlier, I dumped a ton of turbinado sugar on top because I have a huge sweet tooth, and I knew I would want that extra touch of sweetness. I also like the crunch of turbinado sugar on baked goods. It adds texture without overpowering the muffins. However, if you really want to scale back on sugar, you could leave this step out.

I already ate two of these with my first cup of coffee this morning. I can’t wait to eat more, possibly with some Irish butter spread on top. It’s now snowing so hard I can’t see across the field in the park next to my apartment, so it’s the perfect excuse to hunker down with bottomless cups of coffee and muffins.

Here’s a song to get you started on your morning glory muffins. There are some songs you listen to and they always make you happy for no reason. For me, this is one of them.

Morning Glory Muffins

Ingredients
2 large carrots, peeled and grated
1 apple, peeled and grated
1/3 cup light brown sugar
1/3 cup walnuts, chopped fine
1/2 cup golden raisins, soaked in warm water and drained
1/2 cup sunflower kernels
1/4 cup flaxseeds
2 tsp ground cinnamon
1/2 tsp ground ginger
1/4 tsp Kosher salt
2 tsp baking soda
3 large eggs
2/3 cup grapeseed oil
1 1/2 tsp vanilla extract
1 3/4 whole wheat flour, sifted (I used Janie’s Mill Artisan Blend)
turbindao sugar for sprinkling on top

Directions

Preheat the oven to 350 degrees F. Line a muffin tin with 12 paper liners.

Put the grated carrots and apple in a large bowl and use a rubber spatula to toss it with the brown sugar. Mix in the walnuts, raisins, sunflower kernels, flaxseeds, cinnamon, ginger, salt, and baking soda, and toss everything until it’s well combined.

In the bowl of a stand mixer, whisk together the eggs, oil, and vanilla extract. Whisk in the carrot apple mixture until everything is well combined. Then, use a rubber spatula to fold in the flour until there are no traces of it left in the batter. Do not overmix.

Use an ice cream scoop to divide the batter between the muffin cups. Sprinkle the tops generously with turbinado sugar.

Bake the muffins for about 22 minutes, or until the tops spring back to the touch. Remove the tin from the oven and allow the muffins to cool in the tin for five minutes. Enjoy!

Posted in Breakfast, Brunch, Muffins | Tagged , , , , , , , , , , , , , , | Leave a comment

Buttermilk Roast Chicken from Salt Fat Acid Heat + Thoughts on Roasting

I think it’s safe to say Samin Nosrat completely changed the way I cook. It sounds like an exaggeration, but it’s true. Up until I read her cookbook, “Salt Fat Acid Heat,” I was a good cook, but I lacked confidence. I was the type of person who followed a recipe to the letter, thinking that if I even went a toe print astray, my work would go up in flames.

Then an old coworker of mine told me about “Salt Fat Acid Heat.” I saved up for a while and bought the cookbook. It’s very large and thick, which makes it seem somewhat intimidating, but it’s actually the opposite. It has advice and tips that guide you every step of the way, from how to salt food (spoiler: use more salt), to how to cook meat and poultry.

Which brings to this buttermilk roast chicken. I made this recipe from the cookbook several years ago for myself and my now ex, and I’ve never stopped thinking about it. The piece of advice that stood out the most for me was salting a chicken. It may seem like common sense, but a lot of people skip this step. I get it: Who wants to massage salt onto slimy, disgusting chicken skin that literally feels like guts between your hands. It’s not pleasant, but it’s necessary. The salt tenderizes the bird and creates a more moist, delicate end product. Don’t take my word for it: Take Samin’s.

Samin advocates for salting a chicken as soon as you unwrap it from the plastic (or I guess, paper, depending on where you get it). I would tend to agree. The sooner you get salt on the bird, the better.

Aside from that, there’s not too much to this roast chicken. After you get done dousing it in salt, you throw it in a plastic bag with a buttermilk salt mixture, seal the bag, and move the chicken all around so the buttermilk gets into every nook and cranny. Saying that last part made me feel like a British grandmother, but it’s true.

Then, you let the bird sit in the fridge for 24 hours. Samin recommends putting the bagged chicken on a plate in the fridge, and again, I would agree: Even though a well-sealed bag will probably be safe, there’s always the possibility that buttermilk or chicken juice could come out, and no one wants to deal with that mess.

If you have time during the 24 hours the chicken is marinating, turn the bag so the buttermilk mixture distributes more evenly. You can even pat the mixture into the bird if you want. I usually wouldn’t have time for this because I’d be at work all day on a Monday, but luckily I was working from home today, so I could pat away.

Another key to this recipe is letting the chicken come to room temperature before you roast it. This is another step where you’re probably thinking, why should I bother doing this? The answer is similar to the salt quandary: Letting the chicken come to room temperature will create a softer, more delicate end product. No one wants dry, rubbery chicken.

Finally, my last chicken roasting tip actually comes from a different chef, Ludo Lefebvre. Way back in 2018, I was watching his episode on the PBS series Mind of a Chef about roasting chicken. Ludo said when you’re roasting chicken, you don’t go get your nails done or read a magazine. “You stay with your bird,” he said. That tip has stuck with me to this day. I treat my chicken like a parent would a toddler on a playground: I let it do its thing, but I keep a close eye on it to make sure it’s doing okay. I’m never far away.

Well, that kind of attention paid off tonight. I took the chicken out of the oven when the skin was perfectly crispy and golden brown. I waited 10 painstaking minutes to cut into it, per Samin’s instructions. I started by cutting the thighs off, because dark meat isn’t my favorite. Then, I snuck a taste of the white meat, which actually led to me getting into the dark meat underneath. Soon, I was eating torn pieces with my hands like an animal. I cried silently. Am I ashamed?…No.

Eating the chicken skin took me back to my childhood. I would have rotisserie chicken for dinner, and the skin was always my favorite part. I guess it had the most flavor. Nothing could beat tonight’s skin, though, which was perfectly crisp, salty, and tender. I honestly feel like crying again just thinking about it.

Lucky for me, I have plenty of leftovers to last me a few days. Until then, I’ll leave you with this song, which pretty much sums up how I feel about this roast chicken.

Posted in Dinner | Tagged , , , , , , , , , , , | Leave a comment

Linzer Cookies

Linzer cookies are my favorite holiday cookies to bake, and one of my favorites-if not my favorite-to eat. Buttery, crunchy, zesty cookies dusted with powdered sugar and filled with sweet, tart raspberry jam…what’s not to love?

I went to find the recipe for these by searching my blog earlier this week, and I realized I never shared it with you, which meant I also didn’t have it. BIG mistake. I’m sharing it with you now so we never run into that problem again.

A few things to note about making Linzer cookies: First, it’s a labor of love. These are not the kind of cookies you scoop out of a mixing bowl and throw onto a baking sheet and finish in 10 minutes. You make the dough, let it chill until firm, cut out the cookies, and then let them chill some more on baking sheets. They take time and effort, but the reward is well worth it.

Second, don’t skip the chilling process. Cold dough is critical to these cookies, the same way it is when you’re making a pie crust. If it’s too soft when you’re rolling it out, it will start sticking to the counter or not holding its shape. It’s definitely a sweet spot, but I would say, err on the side of having firmer dough.

Finally, the filling makes all the difference. I think the traditional route is raspberry jam, and that’s what I always use, but feel free to get creative. I was thinking these would taste good with strawberry or even cherry jam. Maybe I’ll do a repeat bake and test this the week of Christmas.

I have so much fun putting the jam on the cookies and sealing them with the sugar-dusted top cookies with the heart cut out. It’s definitely satisfying to know that all my effort created something beautiful and delicious. I had one spare cookie that didn’t have a top, so I spread some jam on it and ate it with my coffee this morning. It hit the spot.

Here’s a song to get you started on your Linzer cookie journey. I’ve been really into Spanish music lately, at least partly because I’m teaching myself Spanish. This one is good for car karaoke, or really anytime.

Linzer Cookies

Ingredients
12 Tbsp unsalted butter, softened
1/2 cup granulated sugar
zest of 1 lemon
1 large egg yolk, room temperature
1 tsp pure vanilla extract
1 1/3 cups all-purpose flour
3/4 cup almond flour
1/4 teaspoon fine sea salt
raspberry jam for filling
confectioners’ sugar for dusting

Directions

Beat the butter, sugar, and lemon zest in the bowl of a stand mixer on medium high speed until light and fluffy, about three minutes. Scrape the bowl. Add the egg yolk and vanilla extract and beat until combined.

In a separate bowl, whisk the flour, almond flour, and sea salt. Add the flour mixture to the egg mixture and mix on low speed until just combined. Give the mixture a few turns with a rubber spatula if you need to. Divide the dough in half, pat into a disk, wrap in plastic wrap, and chill in the fridge for at least an hour or two until firm.

Once the dough is thoroughly chilled, remove one from the fridge and let come to room temperature for a few minutes. Dust a worktop with flour and a rolling pin, and roll out the dough to 1/8 inch thick. Use a cookie cutter to cut the cookies out of the dough. There should be about 15. To get to that number, keep gathering the scraps of dough after you cut out some, roll them into a bowl, and roll out the dough again. Repeat until you have 15 cookies. Place them on a parchment paper lined baking sheet and place in the fridge for 30 minutes.

Repeat this process with the second chilled dough disc, except this time, use a small cookie cutter to cut a shape out of the center (I used hearts). Put these cookies on a second parchment paper lined baking sheet and chill in the fridge for 30 minutes.

Preheat the oven to 350 degrees. Once it’s ready, bake each cookie sheet separately for about 15 minutes, or until the cookies are lightly golden brown. Let them cool for five minutes on the baking sheet before removing to a wire rack to cool completely.

Once the cookies are cool, take the ones with the hearts cut out and dust them with confectioners’ sugar. Take the other cookies, turn them cut side up, and place 1/2 tsp of raspberry jam on the center of each. Top with the sugar dusted cookies to form a sandwich. Store these at room temperature. Enjoy!

Posted in Cookies, Dessert | Tagged , , , , , , , , , , , , , , | Leave a comment

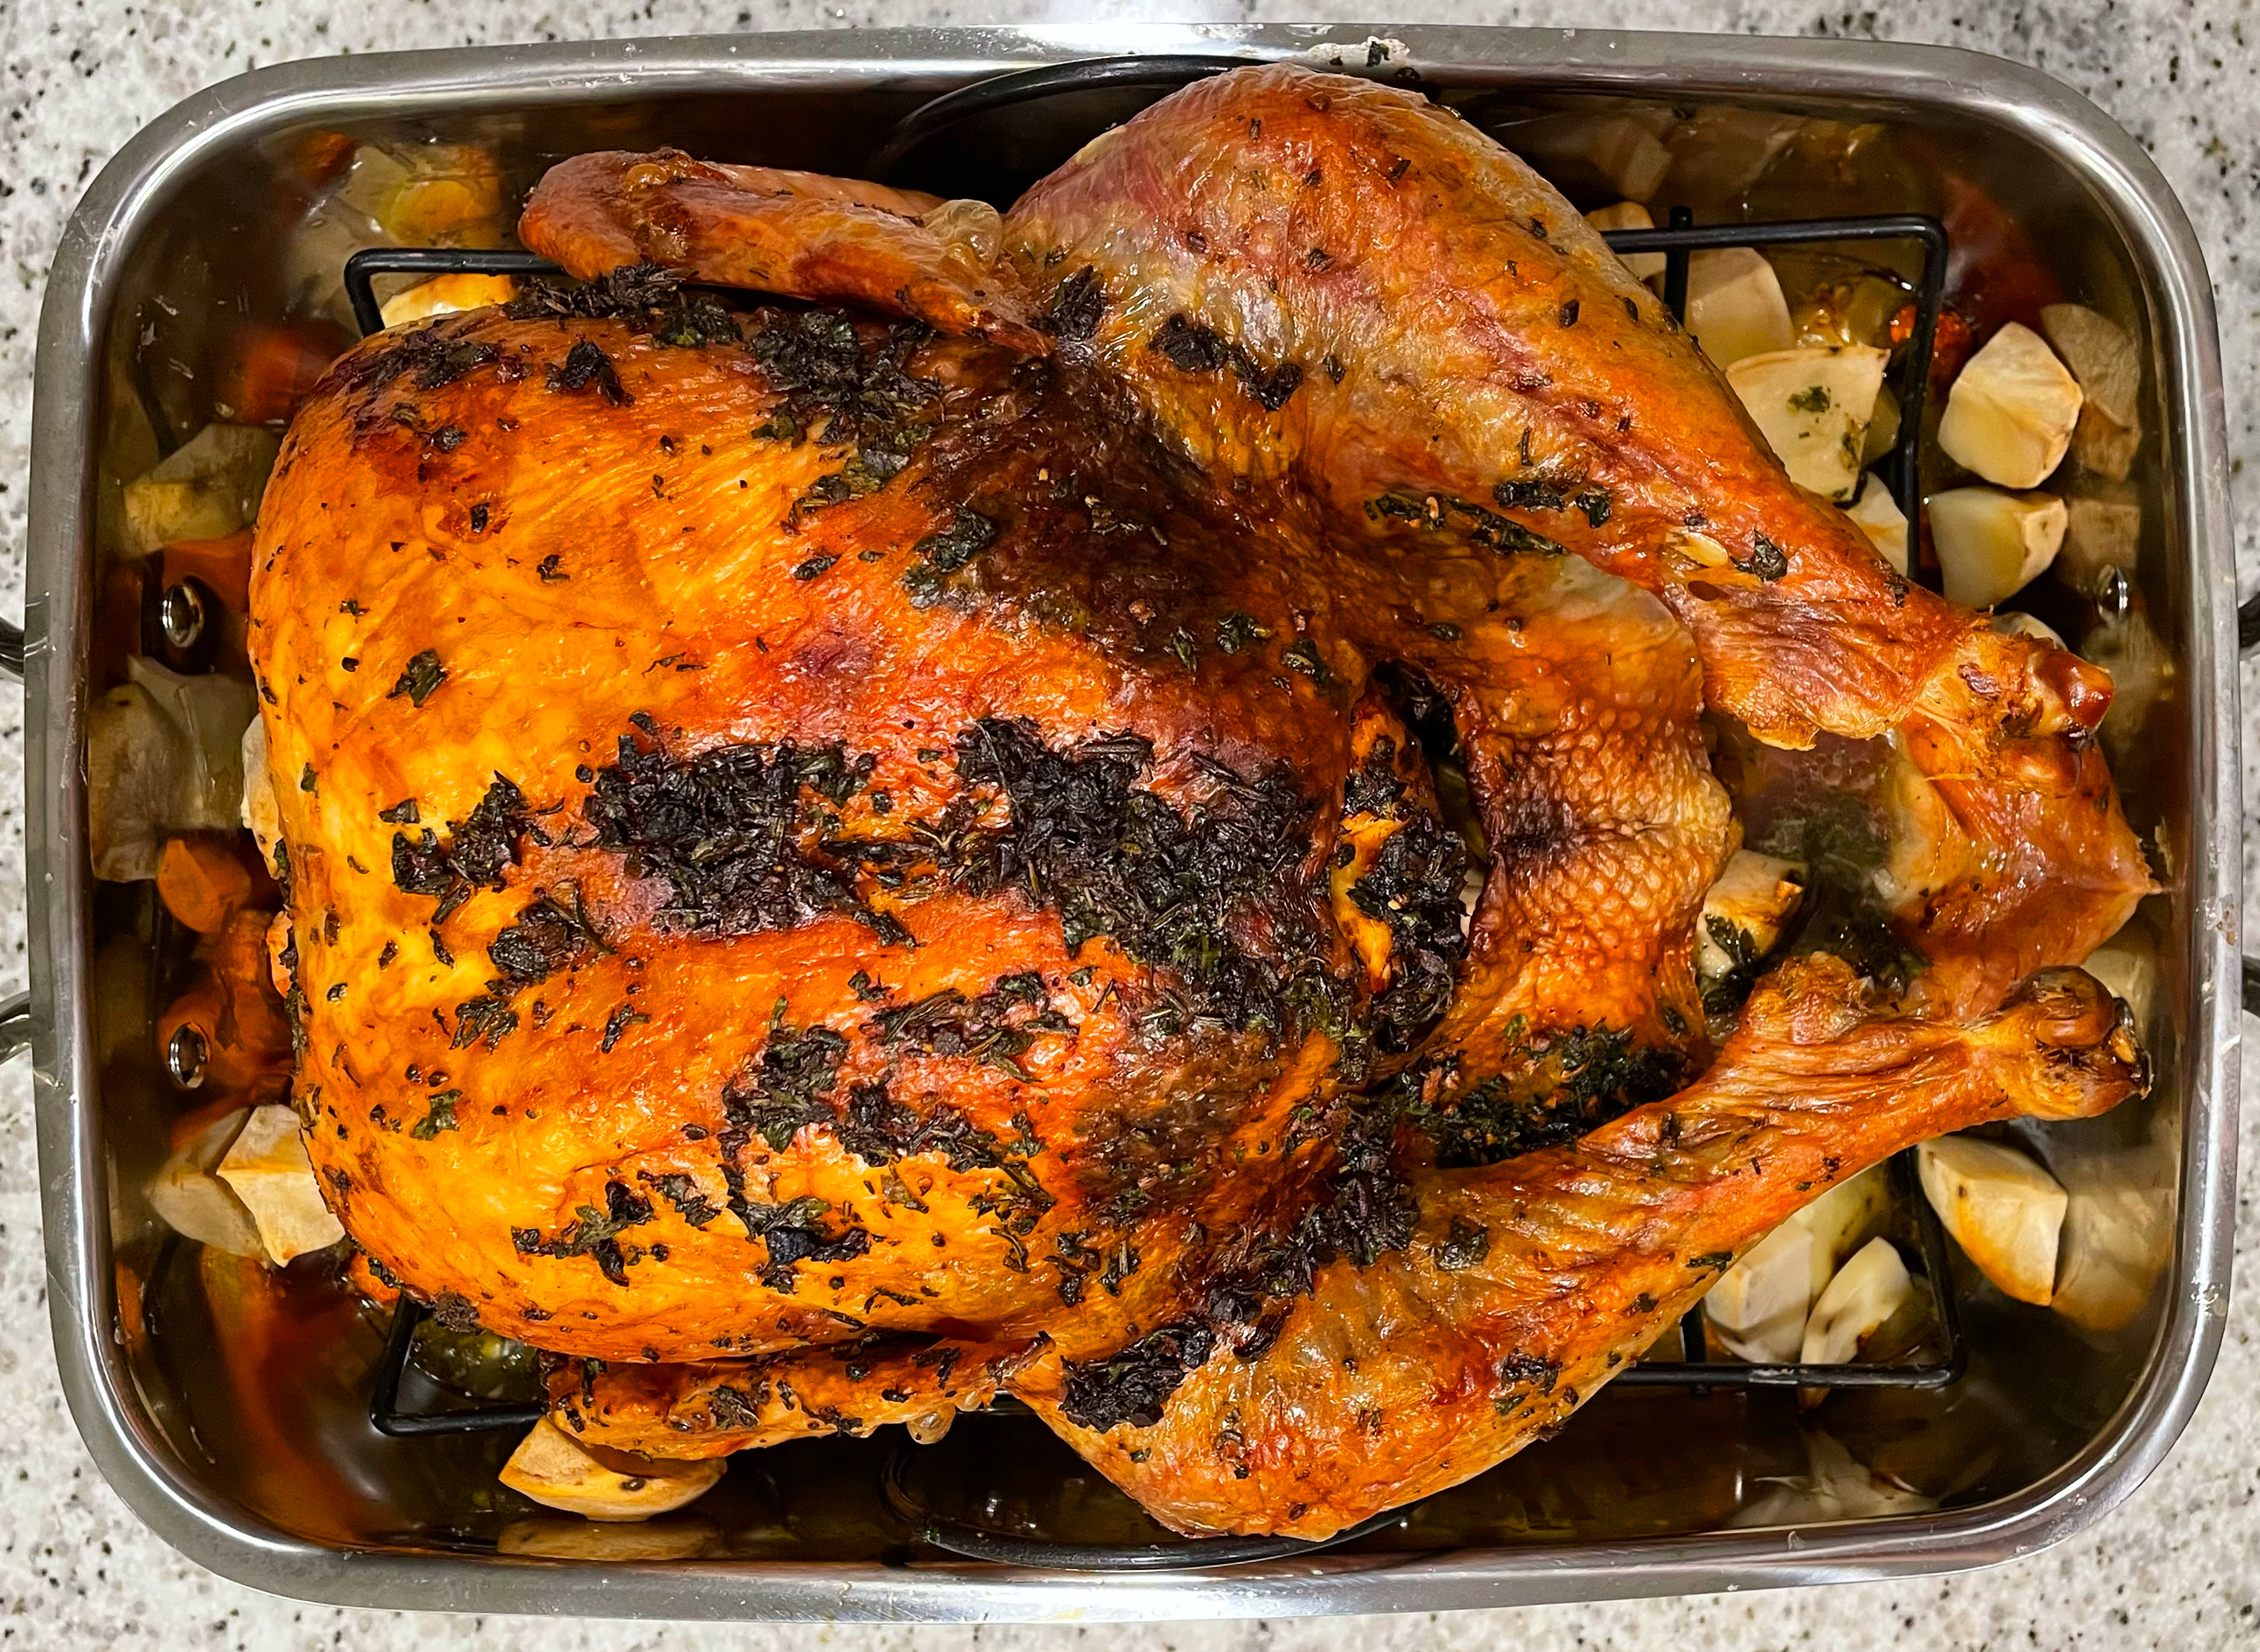
Baby’s First Thanksgiving Turkey (+ Rolls)

Thanksgiving is perhaps my favorite holiday of all time. Why? you ask. The food. I know there are some people who want to puke at the sight of all the starches, carbs, and meat on a Thanksgiving table, but I’m not one of them. The more rolls and pie, the merrier. For the past several years, I’ve cooked almost a full Thanksgiving dinner on my own. Everything, that is, except the turkey.

It might seem impossible, but it’s true. Growing up, an adult in my family would always handle it. Once I became an adult, I punted the responsibility off on someone else like my ex. To be honest, I was scared. There was something about putting a 20-pound bird on a roasting rack that completely unnerved me. I guess it’s somewhat unnatural if you think about it, but honestly, it wasn’t even that. I think I just thought it was super complicated, and I’d probably screw it up because I barely cook poultry or meat at home.

Then I found myself single this year, and I asked myself what I wanted to do. I thought I would make a roast chicken, because that’s definitely in my repertoire, but then I thought, “No way.” It’s the year of the turkey, I said to myself, and I’m finally going to roast one myself. I had a little trepidation, especially after I went to a wine bar last weekend and my waitress mentioned the Butterball hotline for “emergencies.”

Thankfully, I didn’t have to call. As it turns out, roasting a turkey is one of the easiest things ever. There’s probably someone somewhere cursing me for saying that, but I stand by it. If you have ever roasted any kind of bird before, this is basically the same thing, only a slightly longer process because it’s a very big bird. Even if you haven’t, following a good recipe step-by-step makes it very manageable. I used this recipe as a guide and I will use it every year to come.

Some things to note (I realize some of these may be divisive):

  • Don’t bother brining your bird. In retrospect, I think this was one of the things that turned me off roasting a turkey the most or the reason I never tried it. I’ve marinated chicken plenty of times, but creating a brine and dunking a giant turkey into it seemed…unappetizing. Good news: You don’t need to do it. My turkey was tender and flavorful without going through the process.
  • Dry off the turkey after you unwrap it. It is kind of nasty? Yes. Is it worth it? Also yes. Pat the turkey dry with paper towels before you do anything to it. It will result in a crispier skin later.
  • Let the turkey come to room temp for an hour before you prepare it. This might seem obvious, but it’s easy to just grab the bird straight out of the fridge and proceed to cooking. If you let your turkey come to room temperature for an hour before you prepare it, it will result in a more flavorful end product.
  • Don’t skimp on butter. The garlic herb butter I prepared for this turkey made a HUGE difference. My friend Lynn told me to put some under the skin of the breast, so I did, and that was a great idea. It tenderized the meat underneath. I also drizzled some melted herb butter over the skin and massaged it all over. I was a lot less disgusted by this than I thought I would be. The resulting skin was crispy, flavorful, and delicious.
  • Try not to open the oven. We’ve all done it: We get impatient, and we want to see how the bird is doing. That’s fine, but try to limit the amount of times you open the oven so you don’t slow down the roasting process. It’s already pretty long as it is.
  • Tent the turkey toward the end. I thought this note in the recipe was pointless, but as it turns out, it’s not. Keep an eye on your bird through the oven window using the oven light. If it looks like it’s getting too past golden brown, take a piece of aluminum foil and place it over the top of the breast. You don’t even have to seal it around the pan.

So yeah. Those are my turkey roasting tips from a complete novice. If it turned out this well this year, I can’t wait to see what happens for round two. Maybe I’ll do another bird for Christmas.

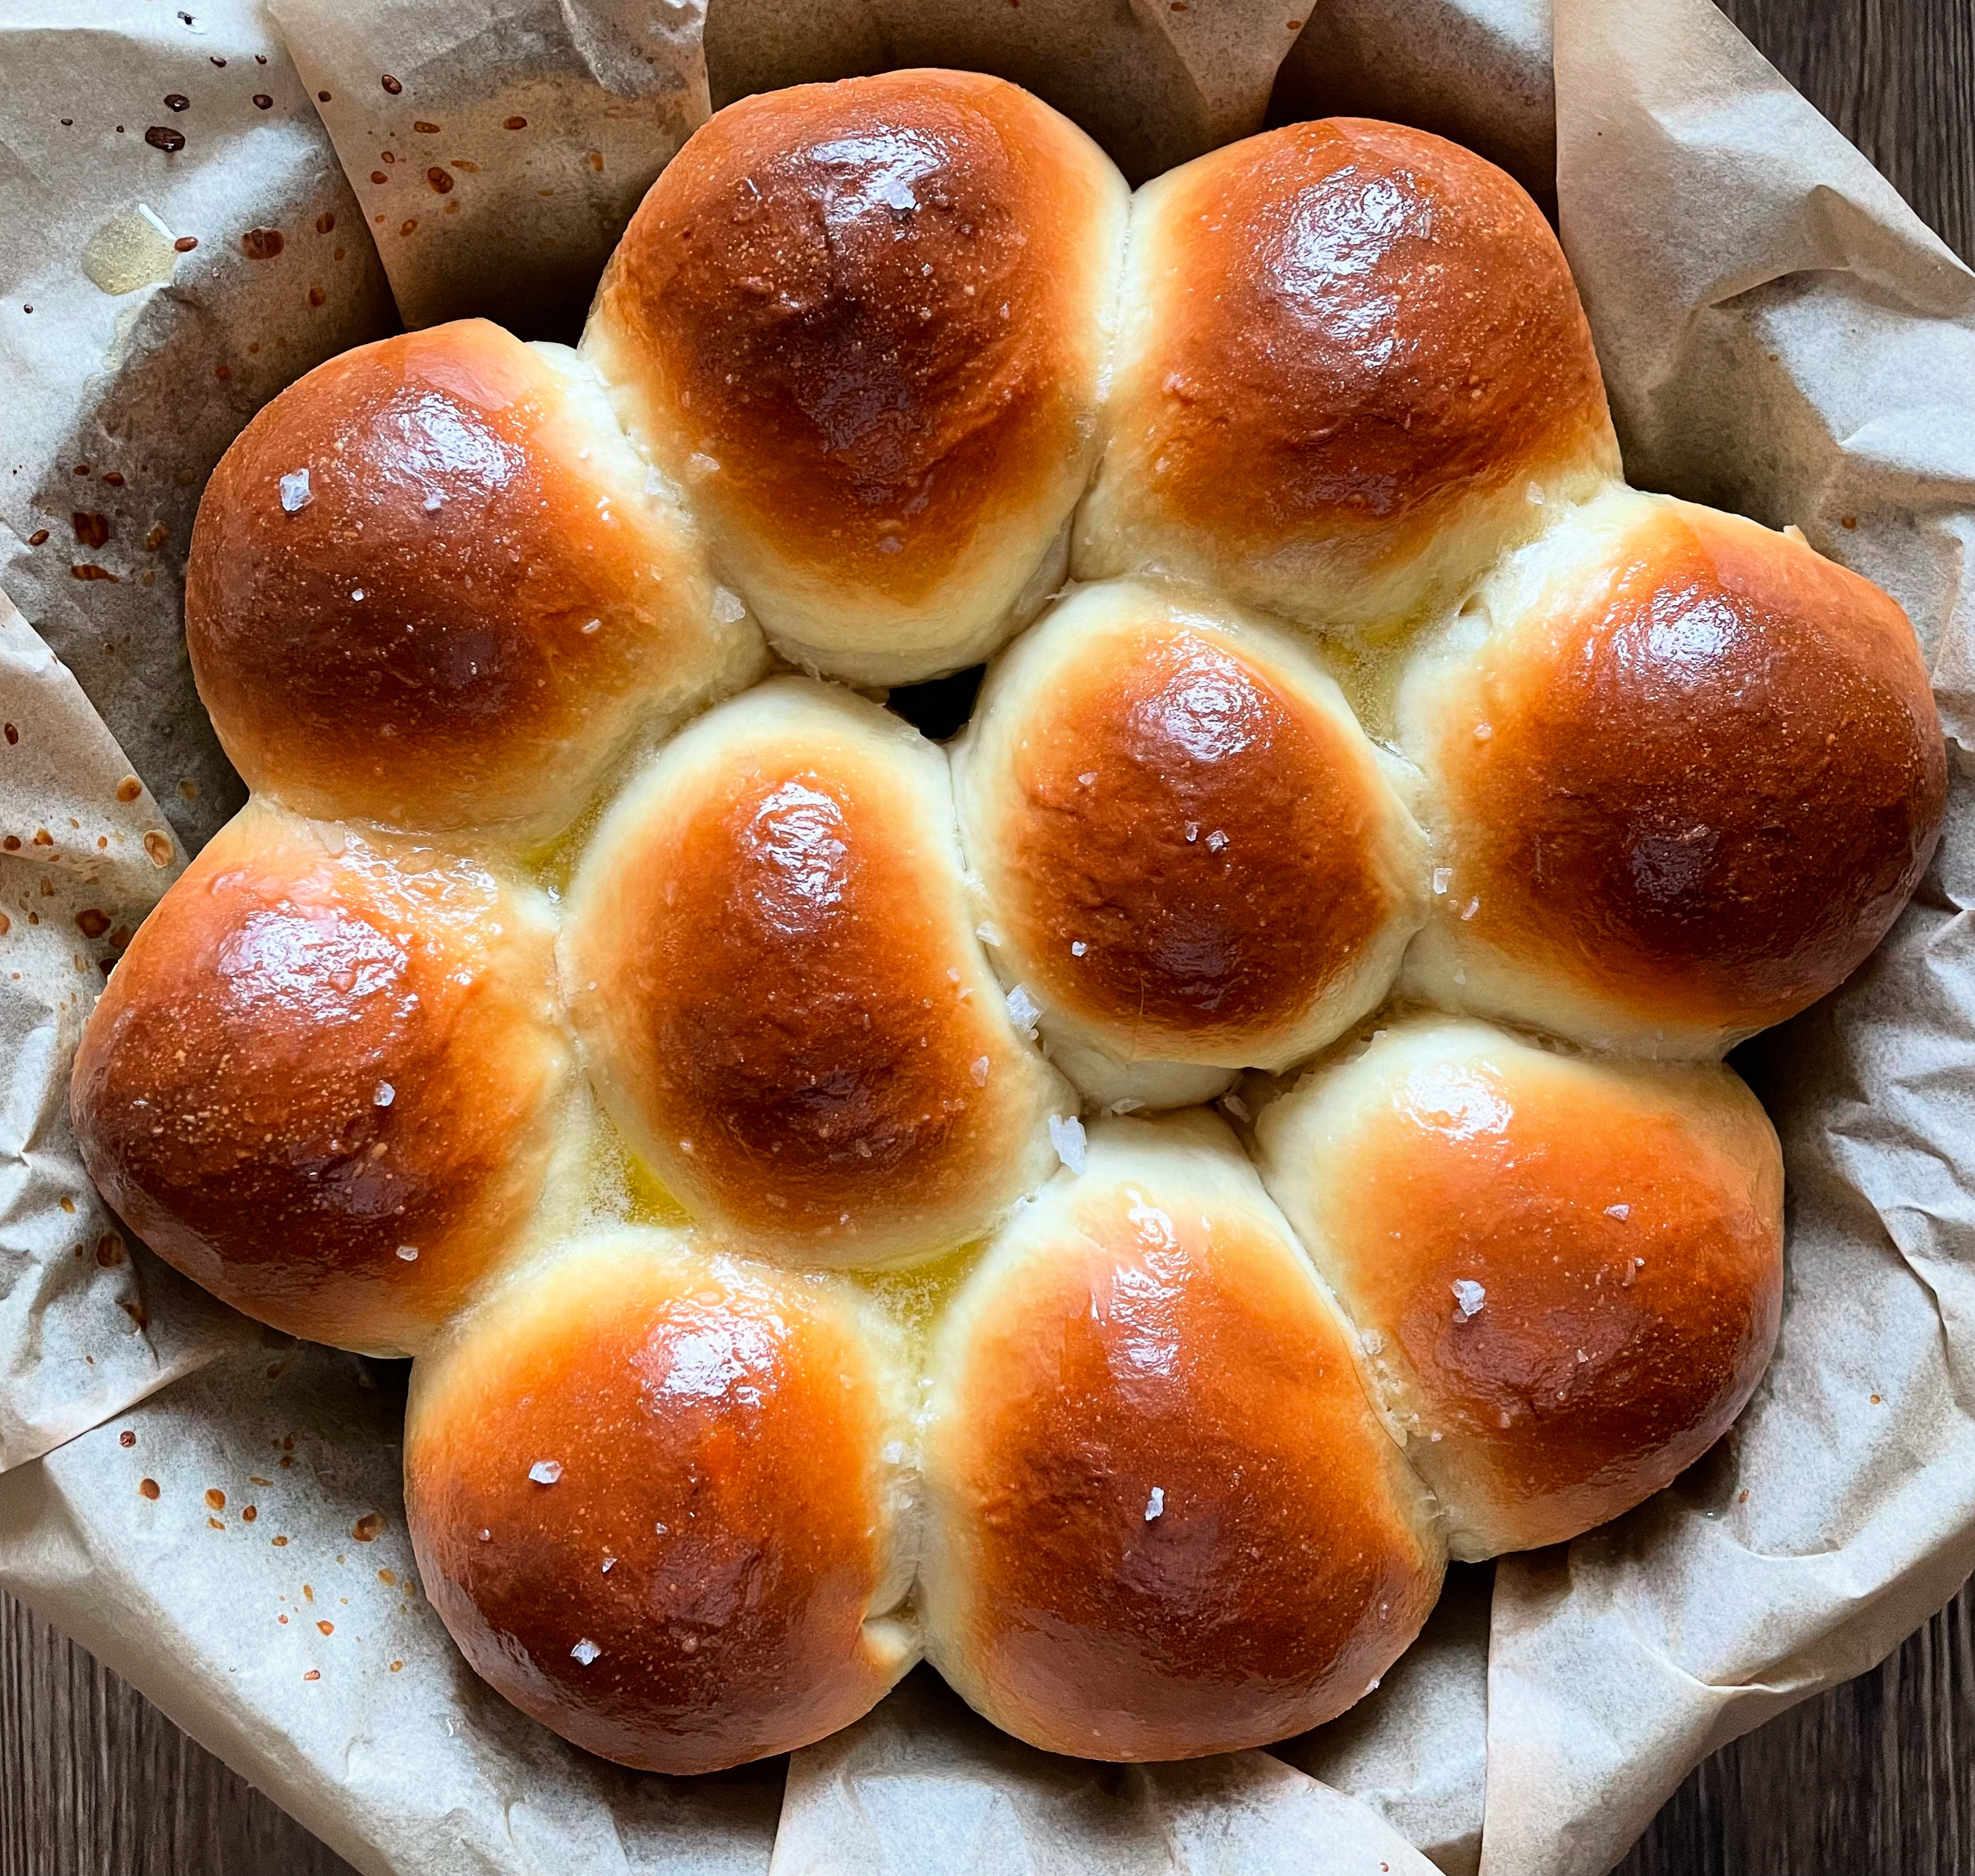
Meanwhile, I’ll leave you with this milk bun recipe (also a must for your Thanksgiving table…see the photo below), and this song. It’s good any time, but especially when you need a confidence boost pre-bird roasting.

Posted in Dinner | Tagged , , , , , , , | Leave a comment