Welcome to Dimanche (That Means Sunday), a roundup of things that caught my eye this past week.
This week was HOT in St. Louis. Summer has arrived with a vengeance, but that’s fine with me. I’d rather it be hot than cold, anyway. Usually, I try to wake up early and take long walks around my neighborhood before the heat and humidity set in, but this year, I’m trying something different. I’m walking after work in peak heat with an insulated water bottle and ice. Holding the cold water bottle reminds me of taking frozen water bottles to summer camp as a child. They melted all morning, so I’d have cold water until lunch.
For some reason, this summer has reminded me more of my childhood summers in St. Louis. Maybe it’s because there are more kids in my new neighborhood. Maybe it’s because everyone at my new job has kids and talks about their summer camps. For whatever reason, many things are reminding me of my days traipsing around in 90-degree heat. I think back to spraying myself over and over with a Squeeze Breeze (which is now “vintage retro” and $15 on eBay), sitting in fields of white clover and picking some to make necklaces or bracelets, going swimming whenever possible, and eating as much mint chocolate chip ice cream as I could get my hands on. To me, summer is all about appreciating the simple things, just like I did when I was little.
Without further ado, here is Dimanche:
A giraffe escaped from a Texas ranch, and I’ve never identified with a living being more. Gracie escaped from a Texas Hill Country game reserve, and after two weeks, authorities found her wandering around the countryside. The sheriff on the team that found her said she had a “catch-me-if-you-can-sucker’s attitude.” All I can say is, free Gracie. Read more in this New York Times story.
I’m usually not a shill for products, but I need to tell you about this one. I needed a new cutting board after I messed up my old one to the point that it was rotting and yellow. I thought I’d get a John Boos board again, but then I took a chance on this teak board from Crate & Barrel. It is a *game changer.* It’s light but sturdy, easy to clean, aesthetically pleasing…I’ve never wanted to marry a cutting board, but now, I do.
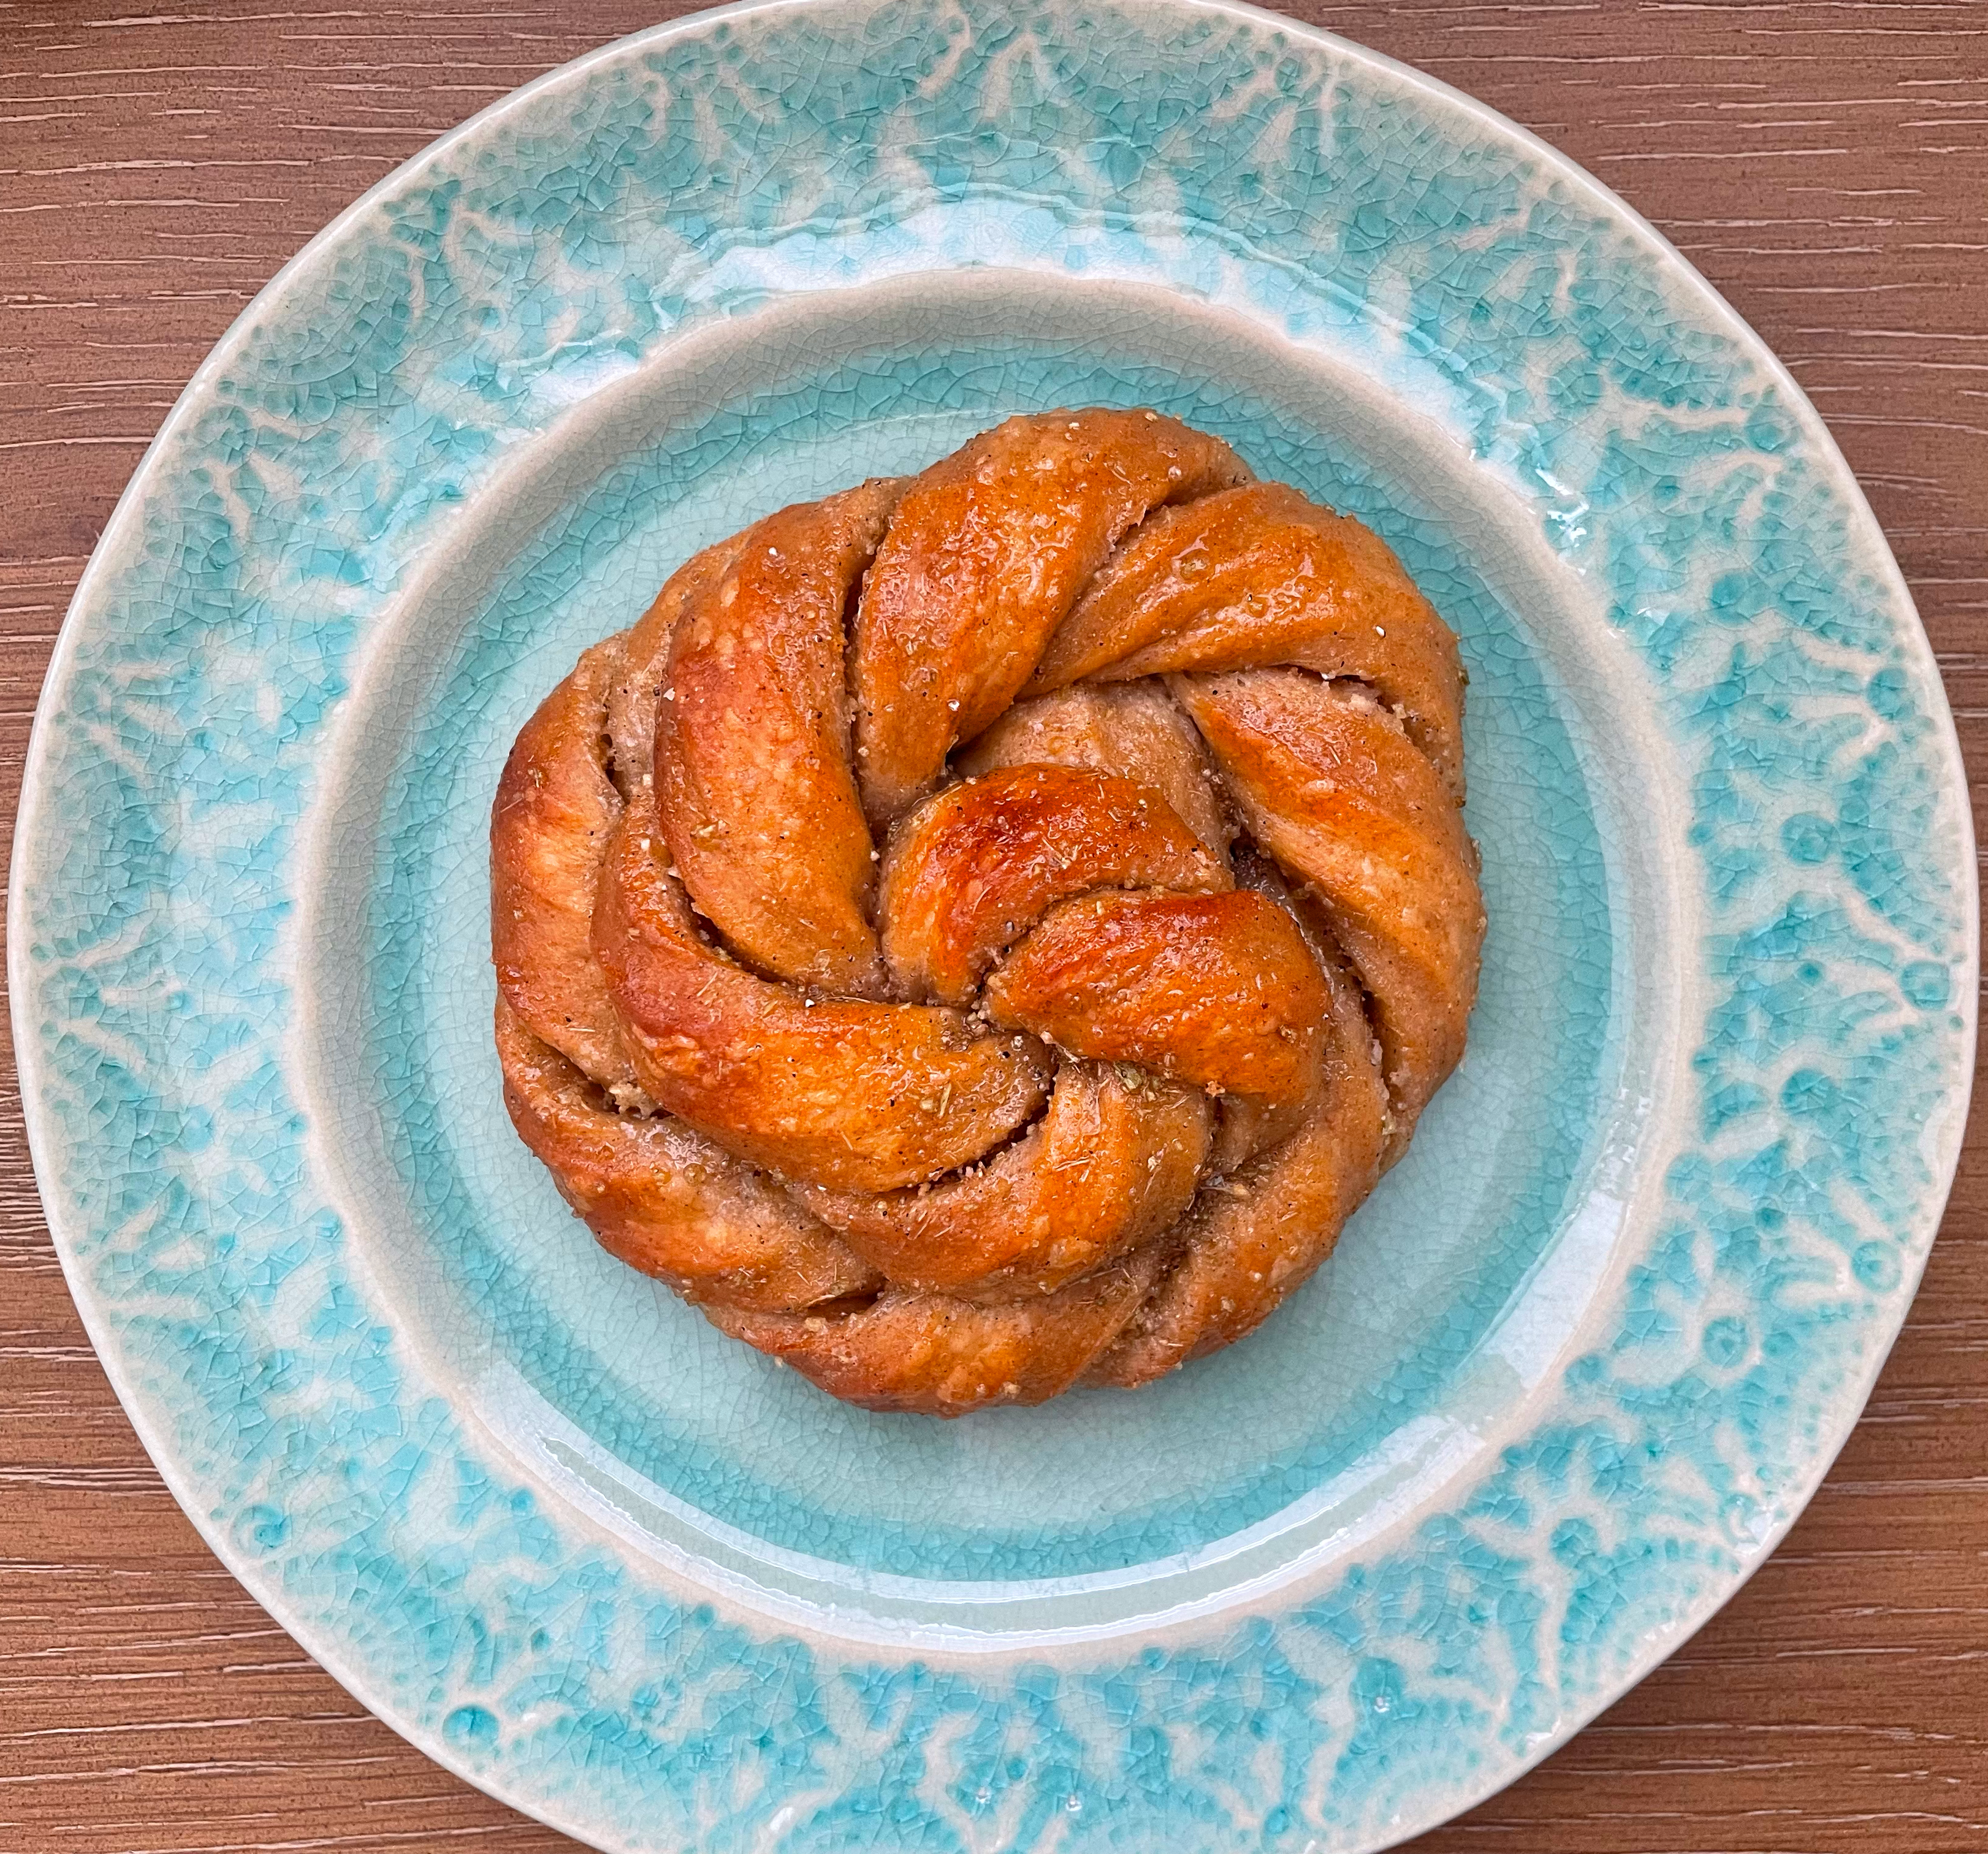
Skáld opened their storefront, and I’m very excited about it. You’ve probably heard me talk about Skáld, a Scandinavian-style bakery in St. Louis that started at the Tower Grove Farmers’ Market last year. Now, they’ve opened their first store in Lindenwood Park/South City. Check their Instagram for hours and more information. Pro tip: Always get the cardamom bun.
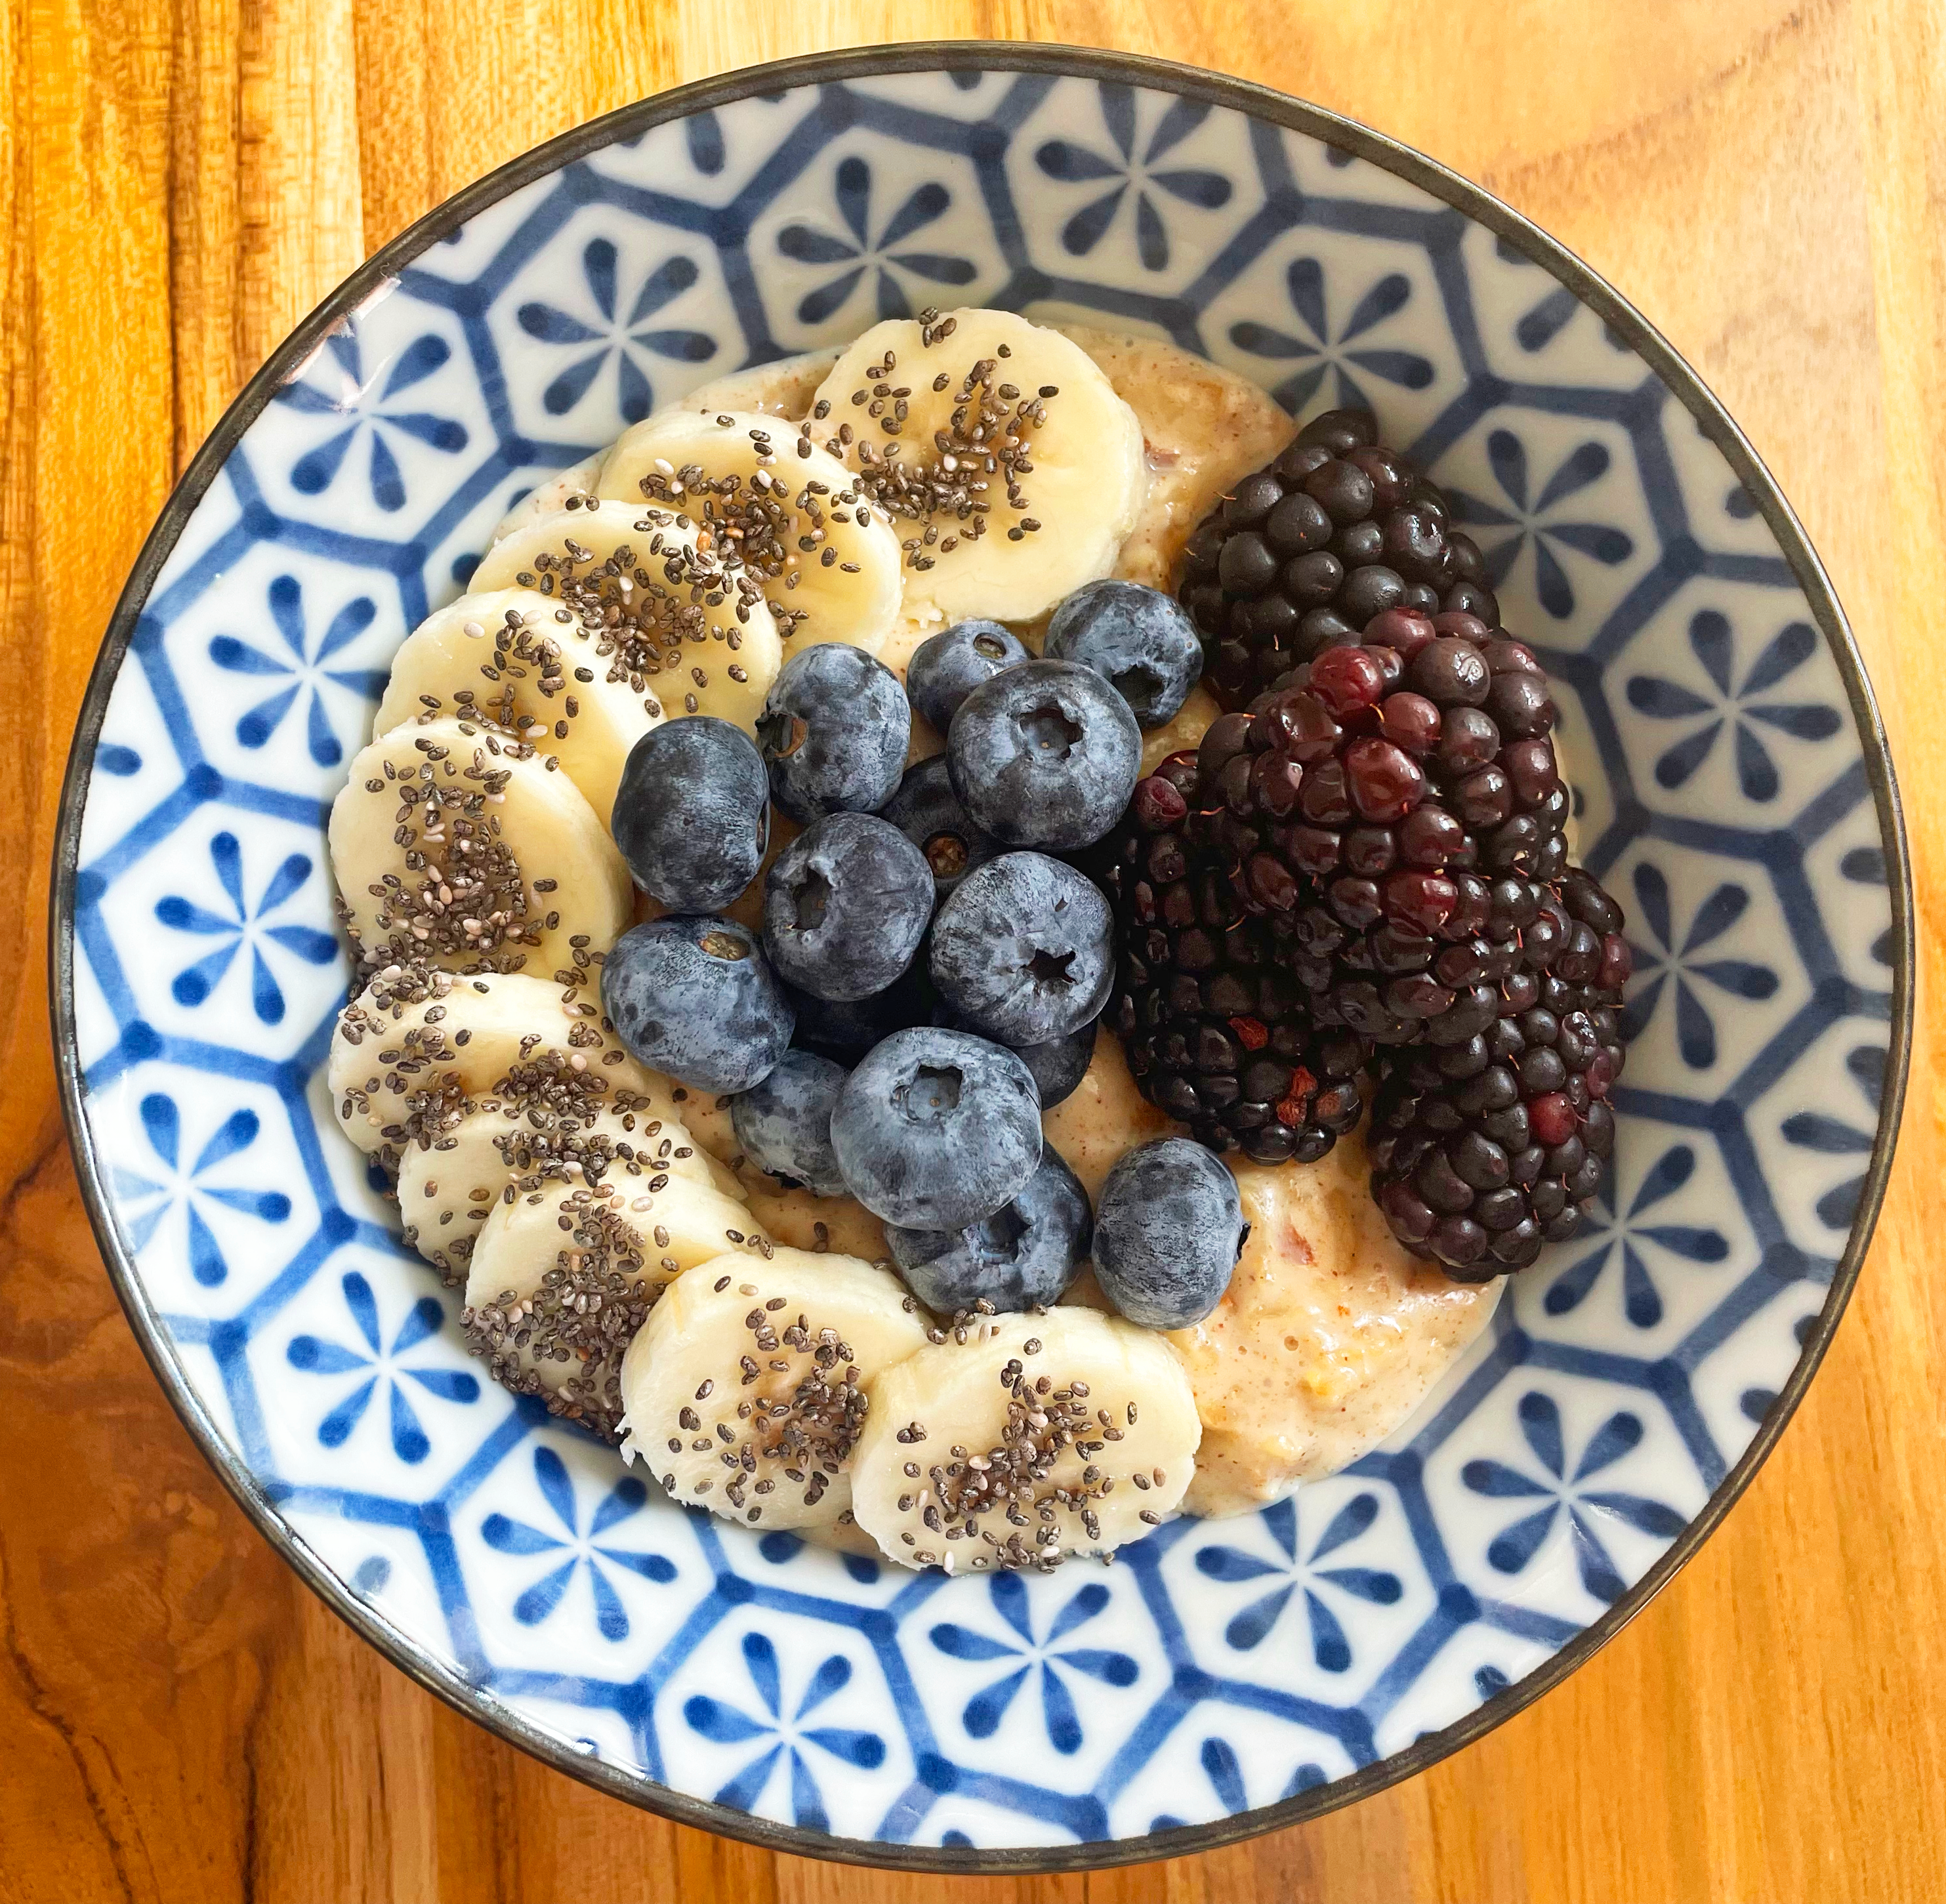
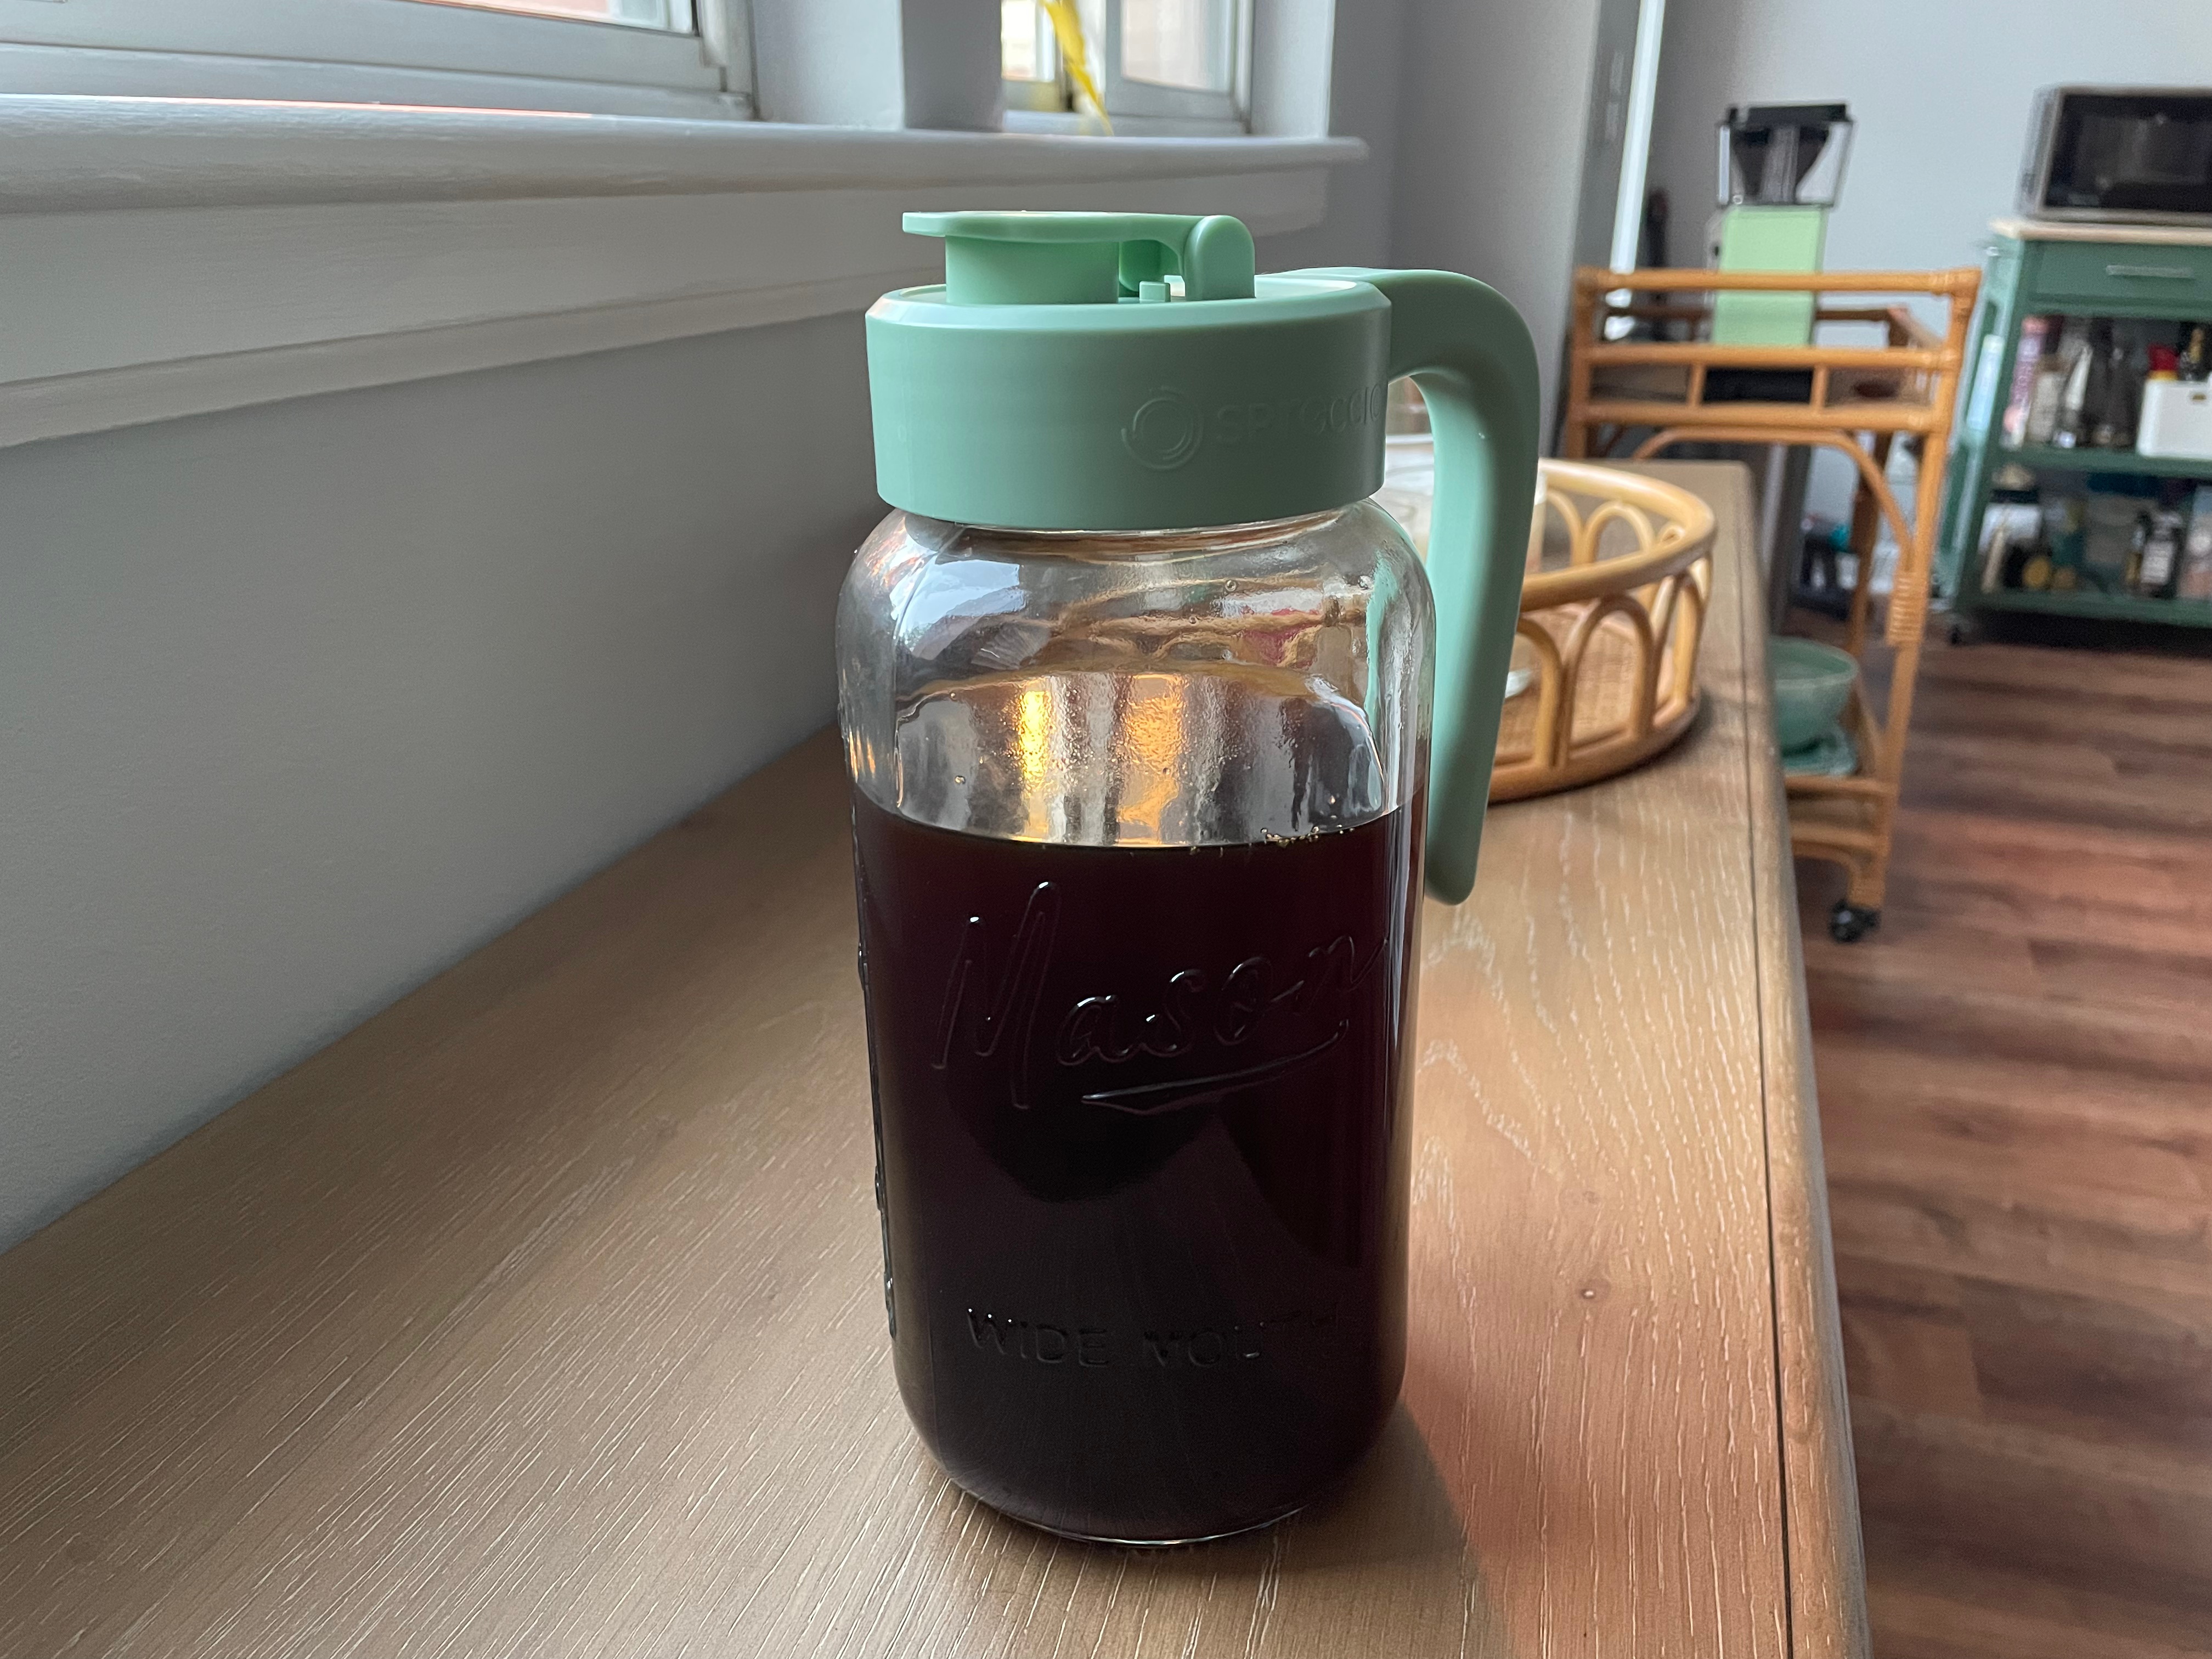
I made some cardamom cold brew with Little Waves beans, and damn, it was good. Last summer, I talked about my first foray into cardamom cold brew, which was way more successful than I thought it would be. This year, I built on that success and took it to the next level with St. Al’s Cold Brew Beans from Little Waves, my favorite roaster. I’d highly recommend these beans and the cardamom cold brew recipe. If you’re not a fan of spices in your coffee, you could leave them out and have equally good results.
I’m writing about solo museum travel for my full-time job, and in doing so, I remembered La Gerbe. This ceramic mural reflects the colorful paper cutouts Henri Matisse created toward the end of his career. I first saw La Gerbe at LACMA, when I was traveling alone through Southern California in 2017. I still remember standing in front of it in awe. Stay tuned for my post about it on the Saint Louis Art Museum blog.
I just bought a new novel and I can’t wait to start reading it. James by Percival Everett reimagines The Adventures of Huckleberry Finn, the classic American novel by Mark Twain, told from Jim’s point of view. I bought the novel from Left Bank Books on a 90-degree day, walked outside with it, got in my car, and my right front tire exploded. I think that means the book will be explosively good.
I watched All We Imagine as Light in January, and I haven’t stopped thinking about it since. This week, I decided to rewatch it one night. The film follows three women in Mumbai at different stages of life: one is estranged from her husband who lives abroad, another is falling in love, and a third is figuring out what comes next after her husband’s death. Their lives weave together, and in the end, they all learn something from one another. I’m always moved by what the film says about love, grief, and independence.
Last but certainly not least, I’m really into this playlist I’ve been compiling for the past month. I realized every song in the list tells a story. Some date back decades; others are much newer: “At the Ballet” reminds me of the first time I saw a Broadway musical, and Beethoven’s “6 Minuets” reminds me of violin lessons in middle school. I listened to “Non So Dir Ti Voglio Bene” on repeat during my walks this past week and pretended like I was on the Amalfi Coast.
Stay cool, y’all!